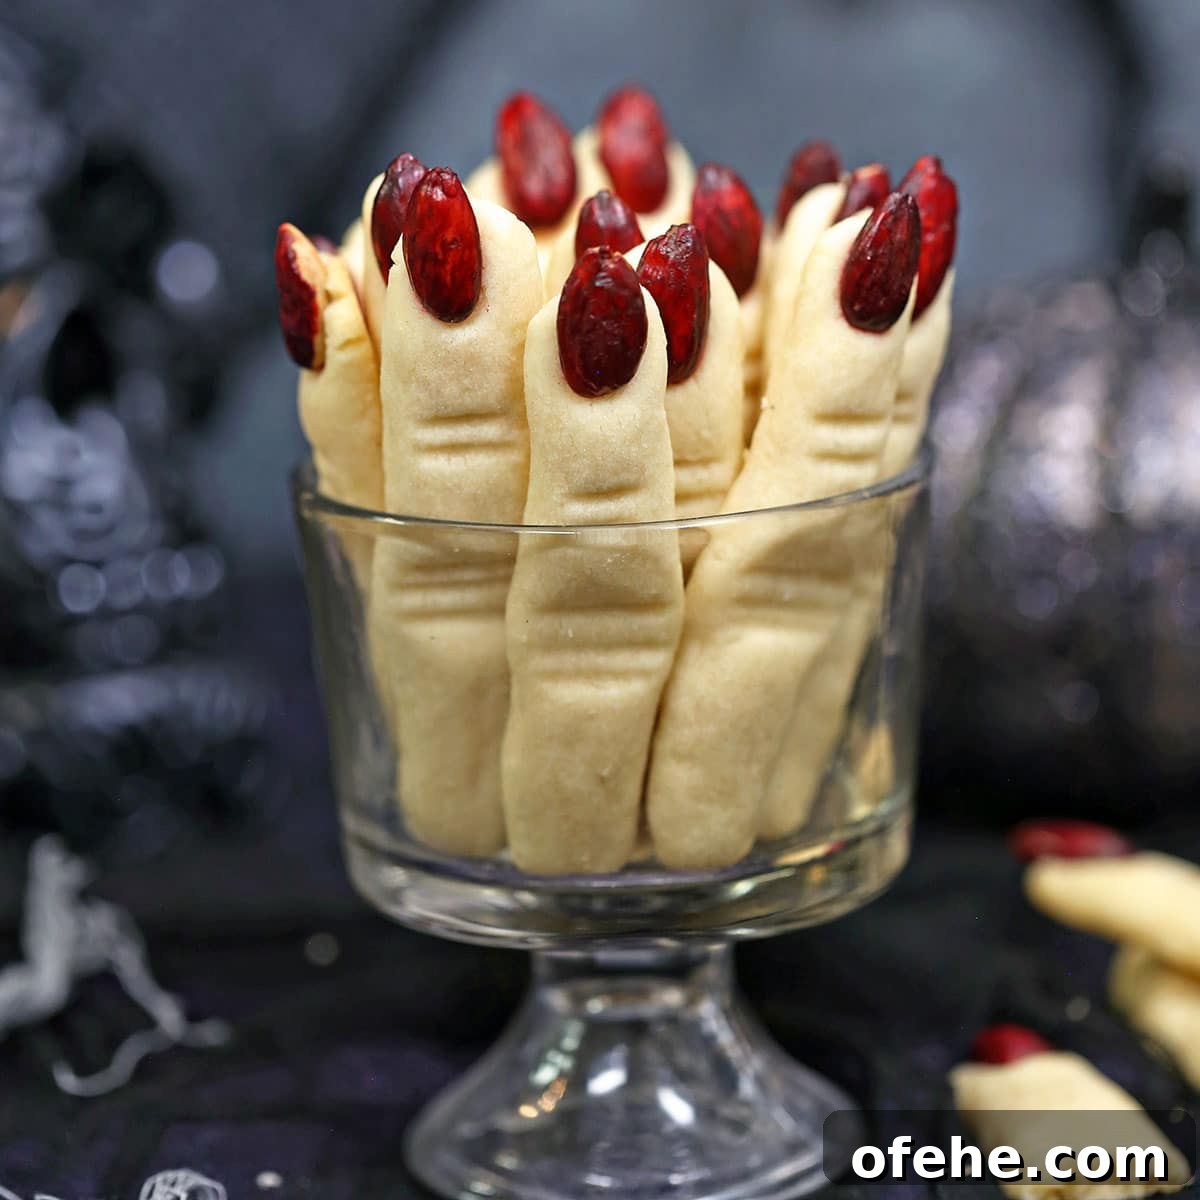
Whip up delightfully spooky witch finger cookies with this easy-to-follow recipe. These almond shortbread cookies are perfect for Halloween parties or a fun baking activity with kids. Below you’ll find clear instructions, helpful tips, and ideas to get the best results every time.
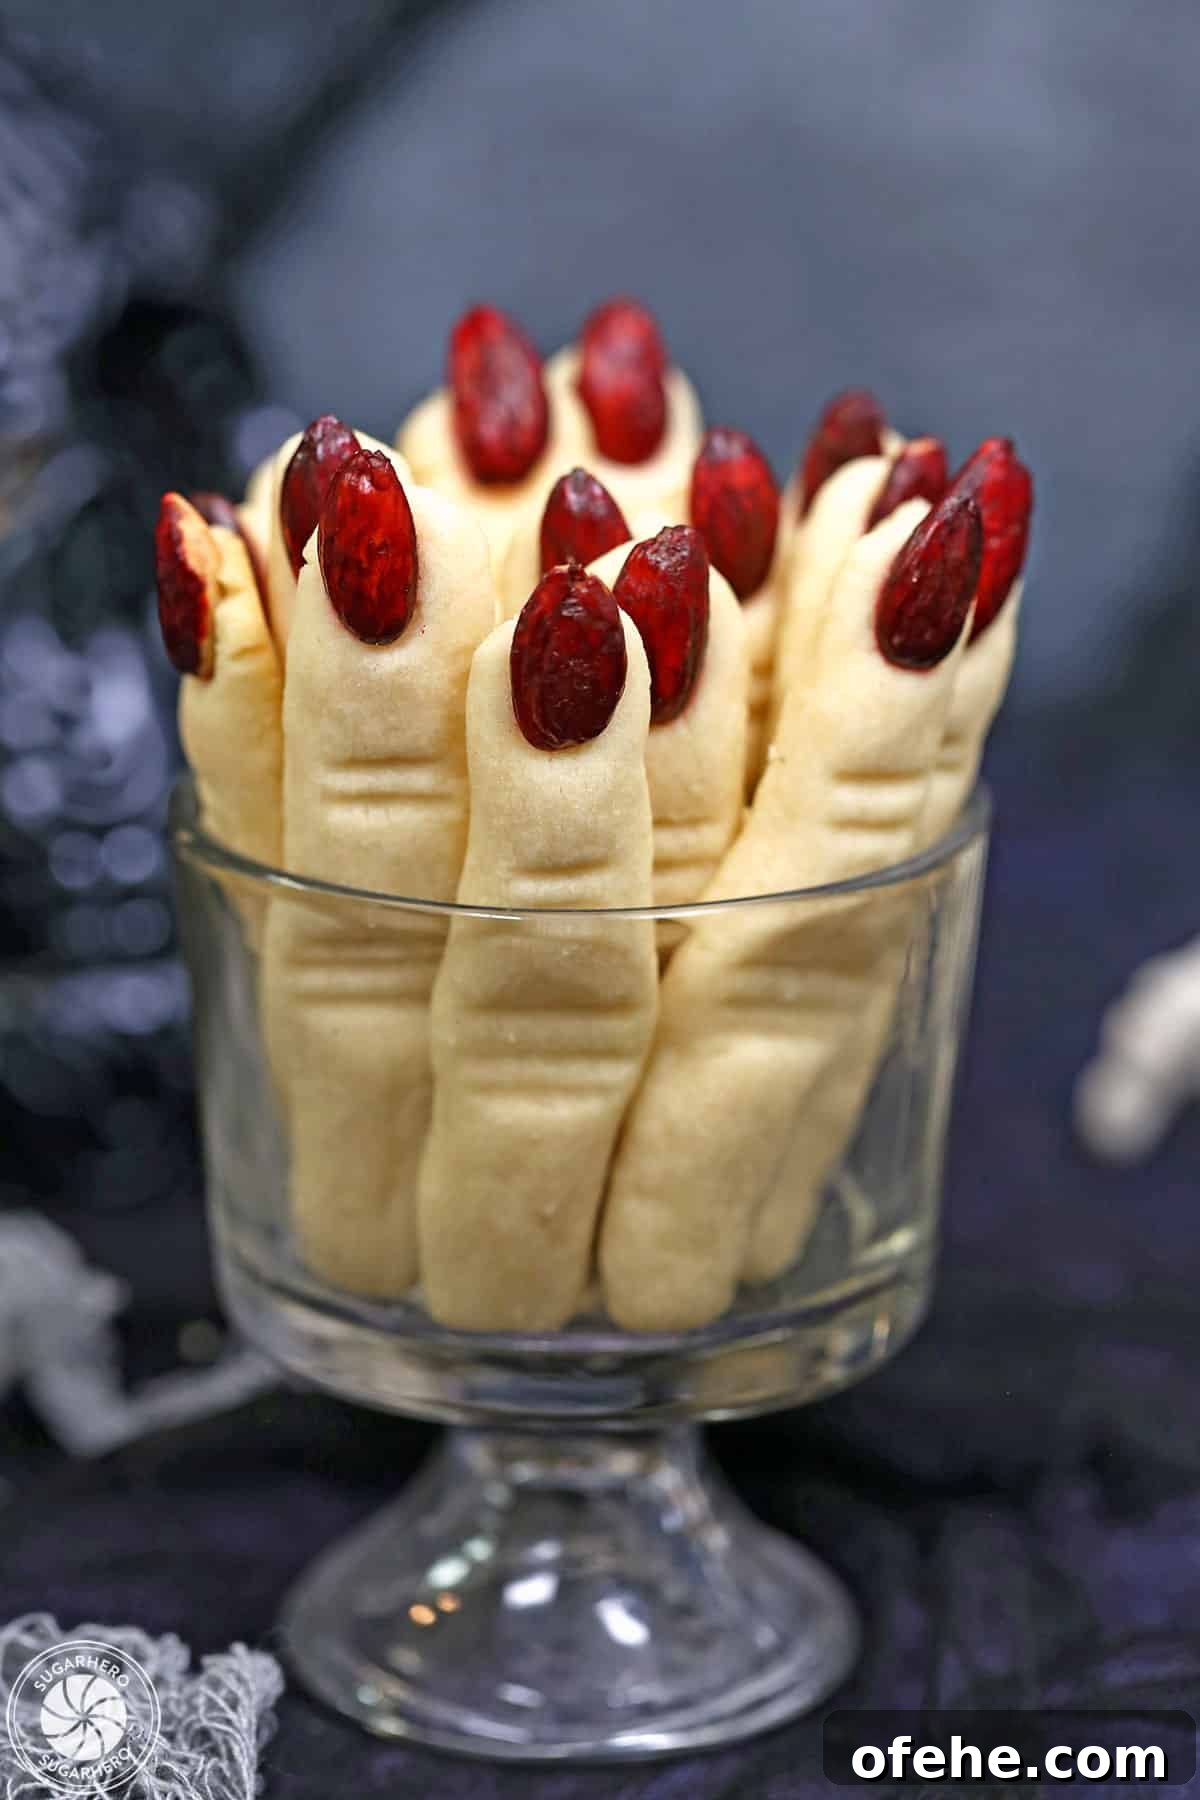
🧙♀️Halloween Finger Cookies
Add a playful, spooky twist to your seasonal baking with this simple witch finger cookie recipe.
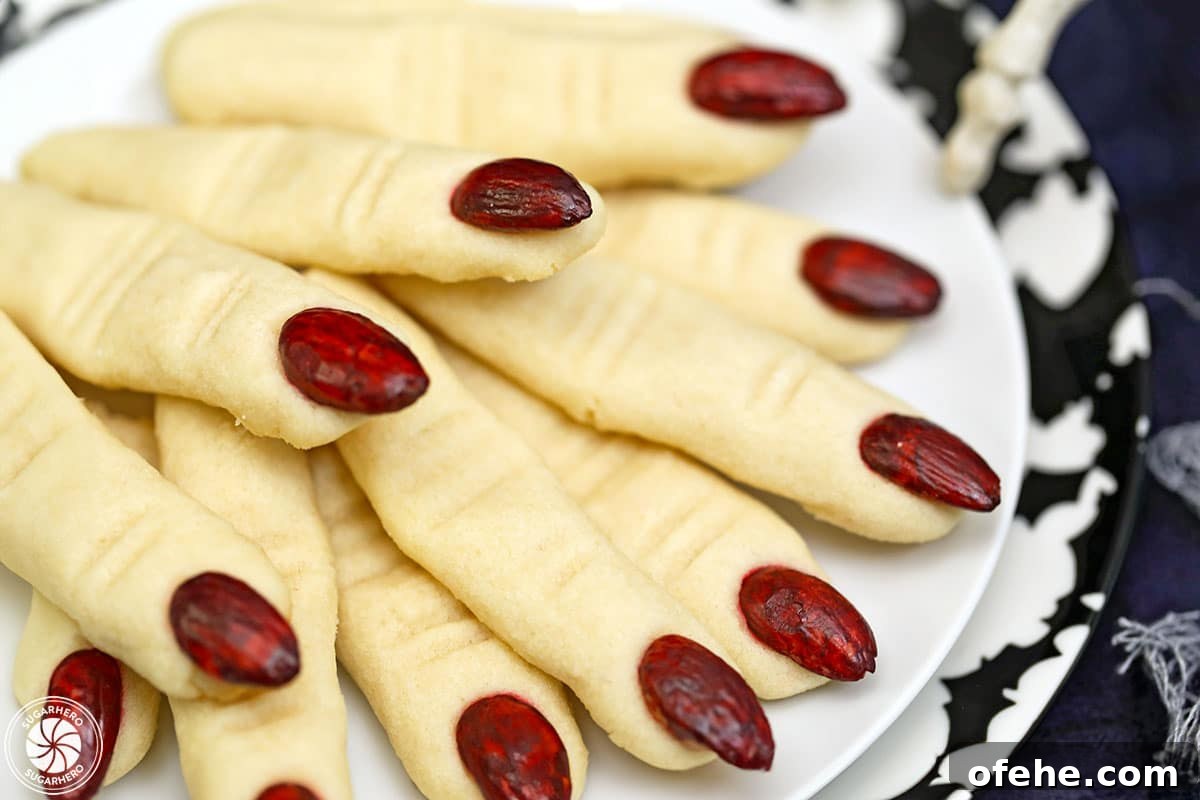
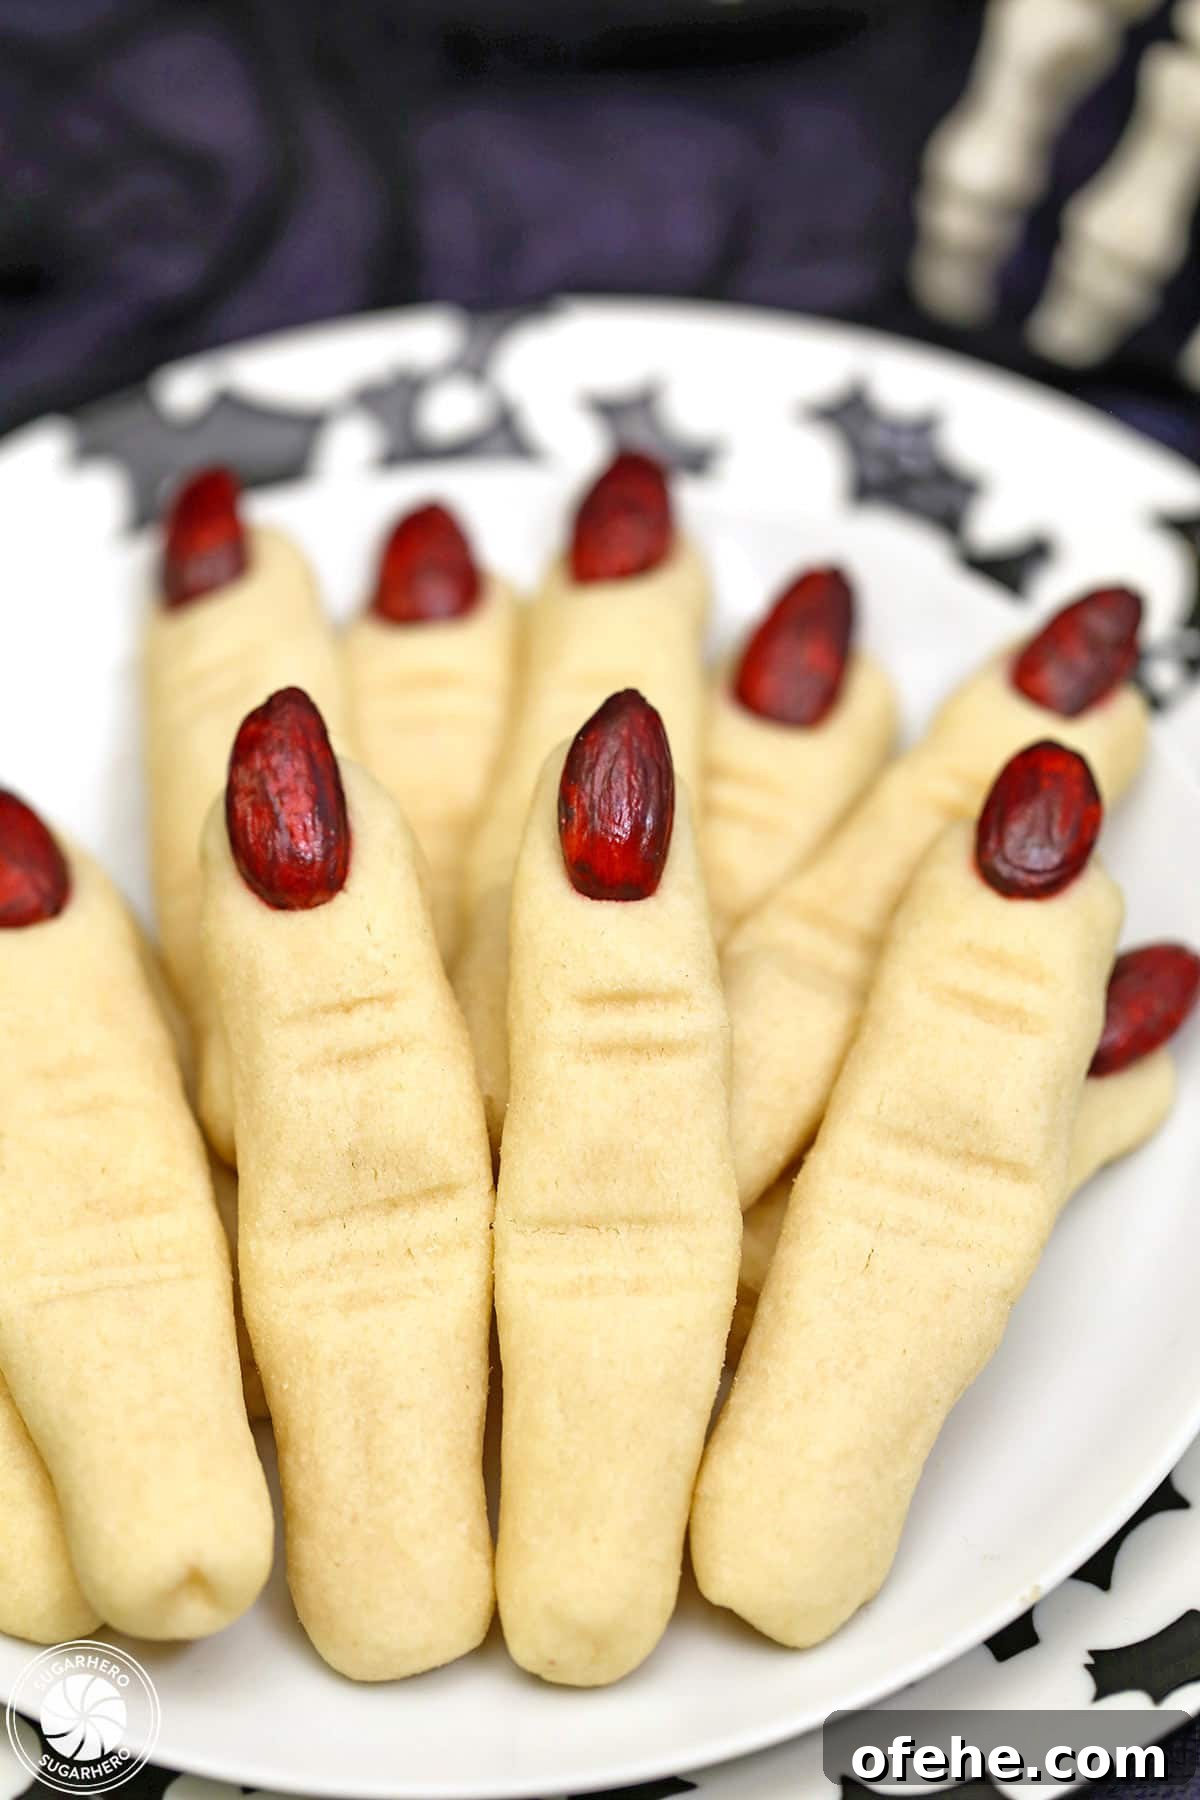
These witch fingers are almond-flavored shortbread cookies made with almond extract, almond flour, and finished with whole blanched almonds for fingernails. They bake up tender and slightly crumbly with a pleasant almond crunch from the “nail.” They’re great on their own or dunked into a mug of Red Velvet Hot Chocolate.
These creepy-looking cookies are ideal for Halloween gatherings or to round out a fall dessert table. The method is straightforward, so even beginner bakers can shape and decorate these in a single afternoon.
This article covers everything you need: ingredients, equipment, shaping and baking tips, and optional decorating ideas so your witch fingers turn out perfectly.
More Witchy goodies
Pair the cookies with a cauldron of Witch’s Brew punch or a cup of Red Velvet Hot Chocolate for a dramatic presentation. Try other Halloween desserts to complete your spooky spread.
Table of Contents
- 🧙♀️Halloween Finger Cookies
- 🧾 What You’ll Need
- Witch Finger Cookies Recipe
- 📸 Step-by-Step Instructions for Making Witch Finger Cookies
- 💡 Tips and FAQs
- 💭 Decorating & Flavoring Ideas
🧾 What You’ll Need
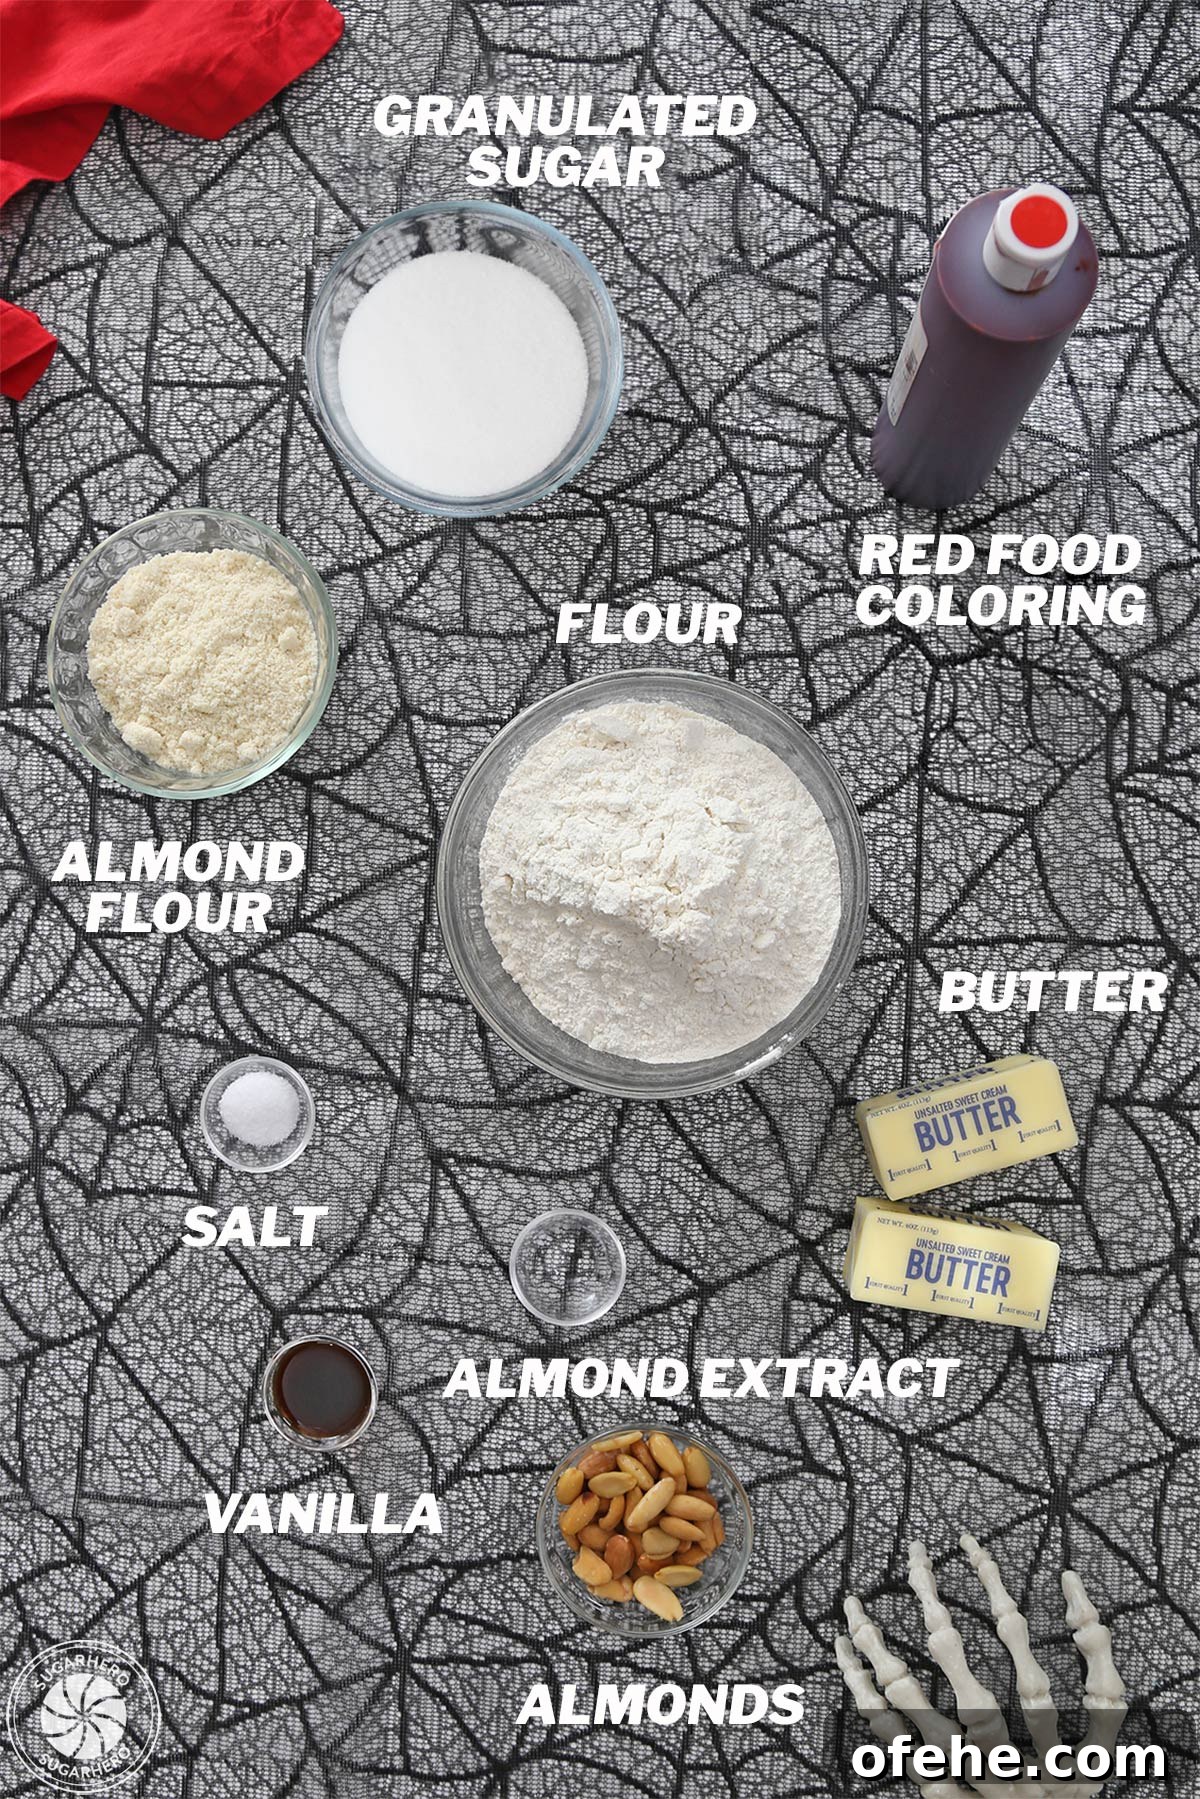
Ingredients
This recipe uses common pantry ingredients and a few almond-specific items to get the right flavor and texture.
- Butter: Unsalted butter at room temperature for easy creaming.
- Granulated sugar
- Vanilla and almond extract: A blend of both gives a rich, nutty cookie flavor.
- Almond flour: Finely ground almond flour (not coarse almond meal) keeps the texture tender.
- All-purpose flour
- Blanched almonds: These work best for coloring and look like fingernails when painted.
- Red gel food coloring: Optional for painting almonds a blood-red color; gel works best for vivid color.
Equipment
- Baking sheets: Heavy-duty sheets for even baking.
- Parchment paper: Prevents sticking and speeds cleanup.
- Mixer: Stand or hand mixer with paddle attachment to cream butter and sugar.
Ready to Make These?
- See the recipe below
- Check the step-by-step photos in the tutorial section
- Read the tips and FAQs for best results
🎃 More Spooky Sweets




Leave a Review!
If you make this recipe, please share your feedback. Leave a rating, add a comment, or post a photo on Instagram with #sugarhero.

Witch Finger Cookies
Ingredients
- 40 whole blanched almonds
- Red food coloring
- 10 oz all-purpose flour (2 ⅓ cups)
- 3.75 oz almond flour (1 cup)
- 8 oz unsalted butter, at room temperature
- 3.5 oz granulated sugar (½ cup)
- ½ tsp salt
- 1 tsp vanilla extract
- 1 tsp almond extract
Instructions
To make the almond fingernails:
-
Paint the tips of blanched almonds with red gel food coloring using a small food-safe brush. Allow them to air-dry; paint the underside if you want deeper color. The painted almonds can be prepared several days ahead.
To make the cookies:
-
Whisk together the all-purpose flour and almond flour in a medium bowl and set aside.
-
Cream the butter and granulated sugar in a stand mixer fitted with a paddle attachment on medium-low for about 1 minute until light and creamy.
-
Scrape the bowl, then add the salt, vanilla and almond extracts and mix to combine.
-
With the mixer running on low, add the flour mixture and mix just until the streaks disappear. Finish mixing by hand with a rubber spatula. The dough should be soft, smooth and not sticky.
-
Preheat the oven to 350°F (175°C). Line baking sheets with parchment paper. Pinch off walnut-sized pieces of dough (about 0.5 oz each) and roll between your palms into 4-inch long snakes.
-
Place each finger on the baking sheet. Press your finger into two spots to create knuckles and use a toothpick to make horizontal lines across the knuckles. Press a painted almond into one end as the fingernail.
-
Freeze shaped cookies on the trays for 10 minutes to help them keep their shape, then bake for about 9 minutes, rotating halfway through. Cookies should look set and slightly puffed but remain pale. Cool on the baking sheets.
-
Store baked cookies in an airtight container at room temperature for up to a week or freeze for up to 6 months. If any almonds fall off, adhere them with a small amount of melted candy coating.
Video
Recipe Notes
TIPS FOR SUCCESS:
- Blanched almonds: Blanched almonds have the skins removed and accept color better. You can buy them blanched or blanch whole almonds at home.
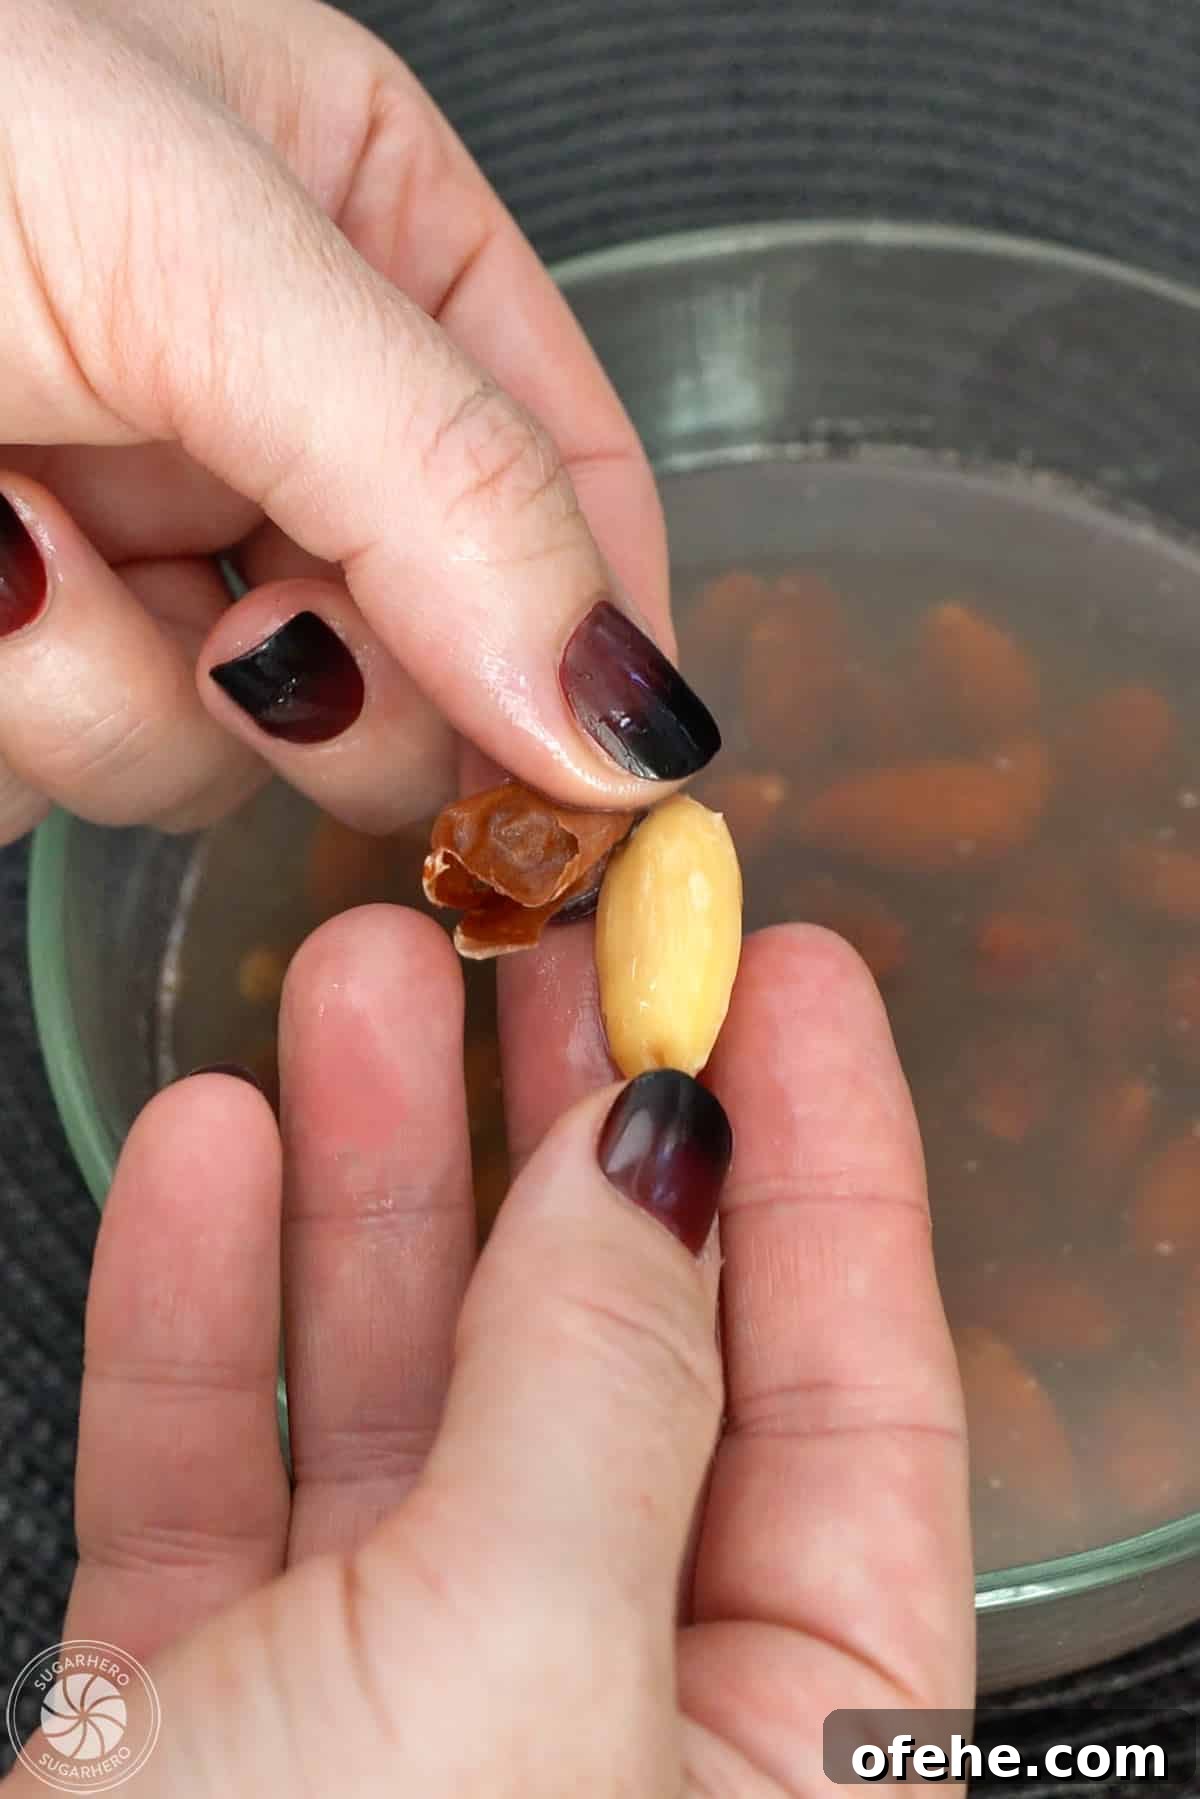
- How to blanch: Pour boiling water over almonds, let sit 2–3 minutes, drain, rinse with cold water, then pinch skins off and pat almonds dry before coloring.
- Prevent spreading: Avoid overmixing the dough and chill shaped cookies for 10 minutes before baking so they keep their finger shape.
Measuring Tips
This recipe is developed with weight measurements. A kitchen scale is recommended for the most consistent results. Volume equivalents are provided, but weight is more precise for baking.
Nutrition
📸 Step-by-Step Instructions for Making Witch Finger Cookies
Follow the photo steps below alongside the recipe card for a visual guide to shaping and finishing the cookies.
Step 1: Blanch the Almonds
Blanched almonds (skins removed) show color better and make the most realistic fingernails. You can buy them ready or blanch whole almonds at home before coloring.
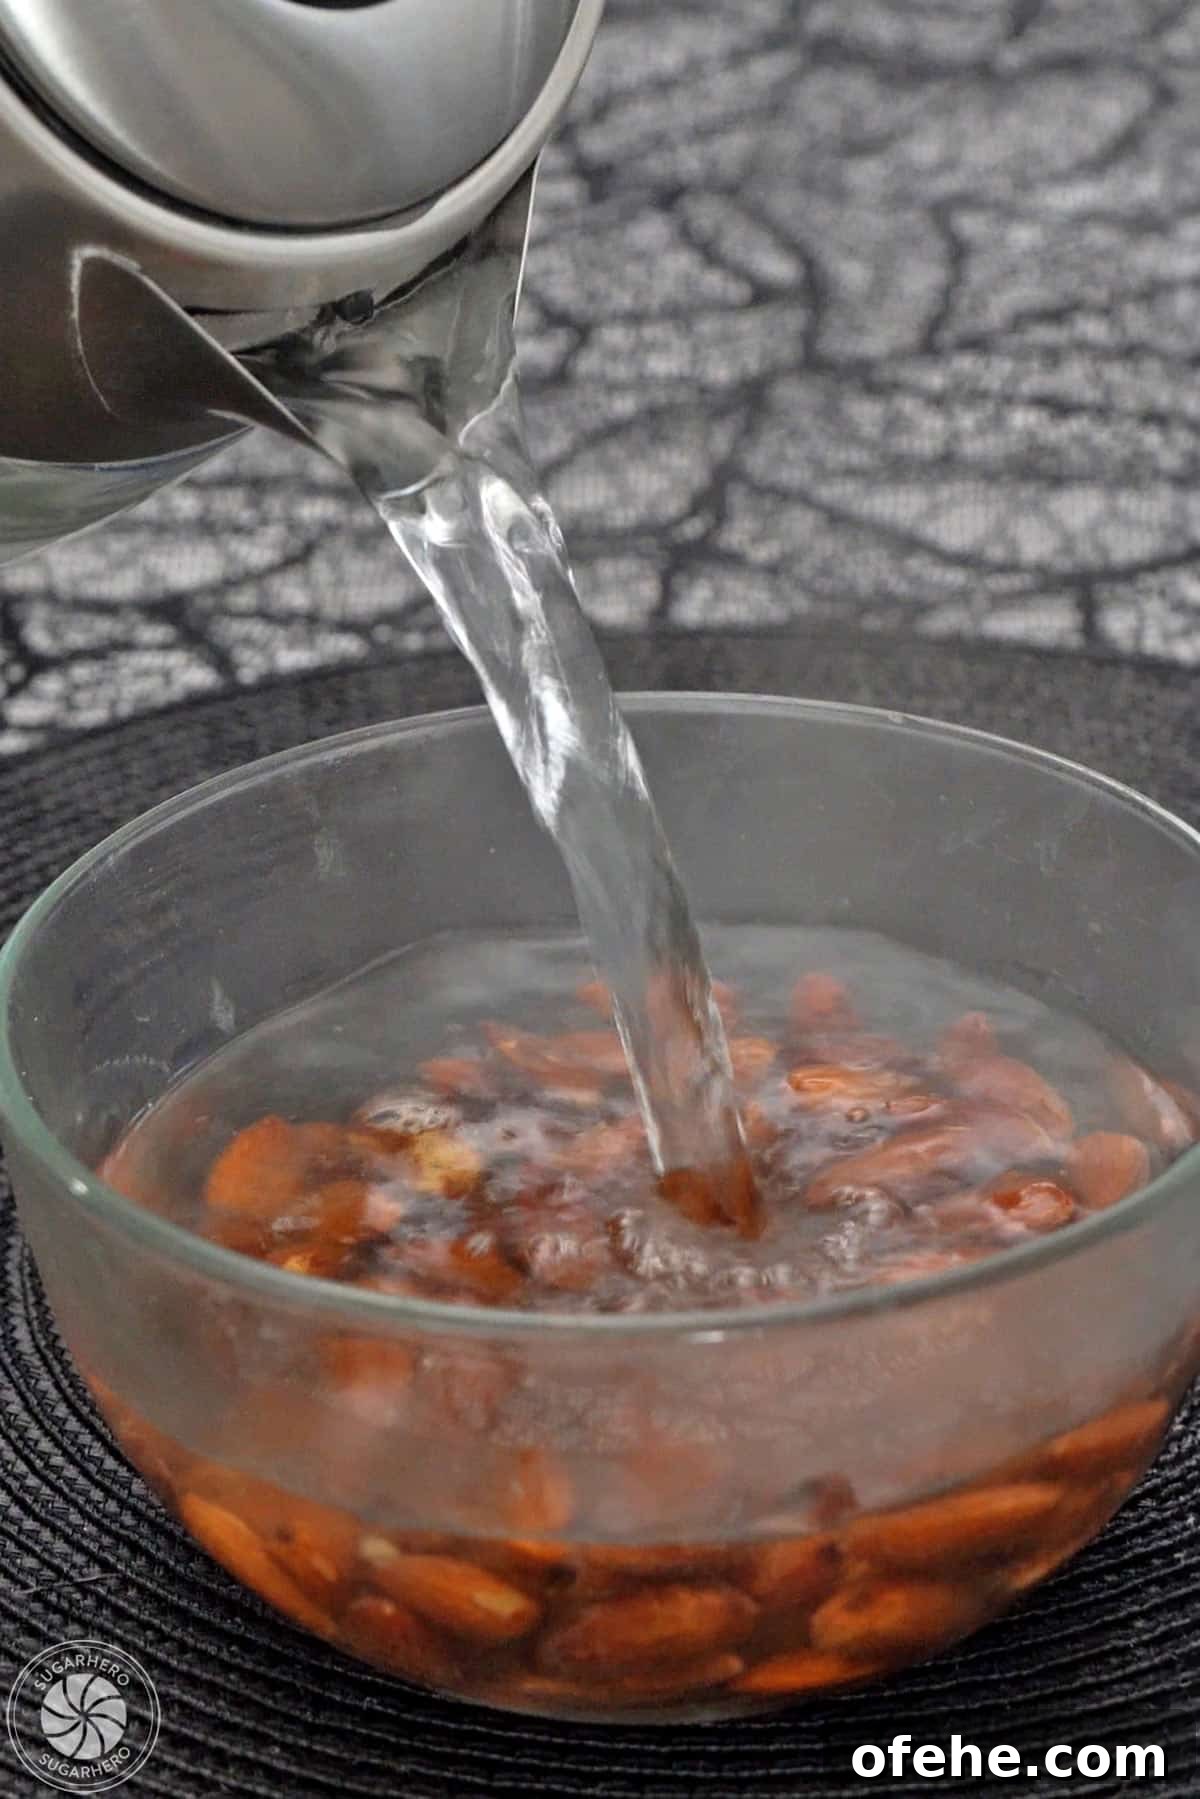
- Place almonds in a heat-safe bowl. Pour boiling water over them and let sit 2–3 minutes.
- Drain, rinse under cold water, then pinch skins off and pat almonds dry before coloring.
Step 2: Prepare the Almonds and Dry Ingredients
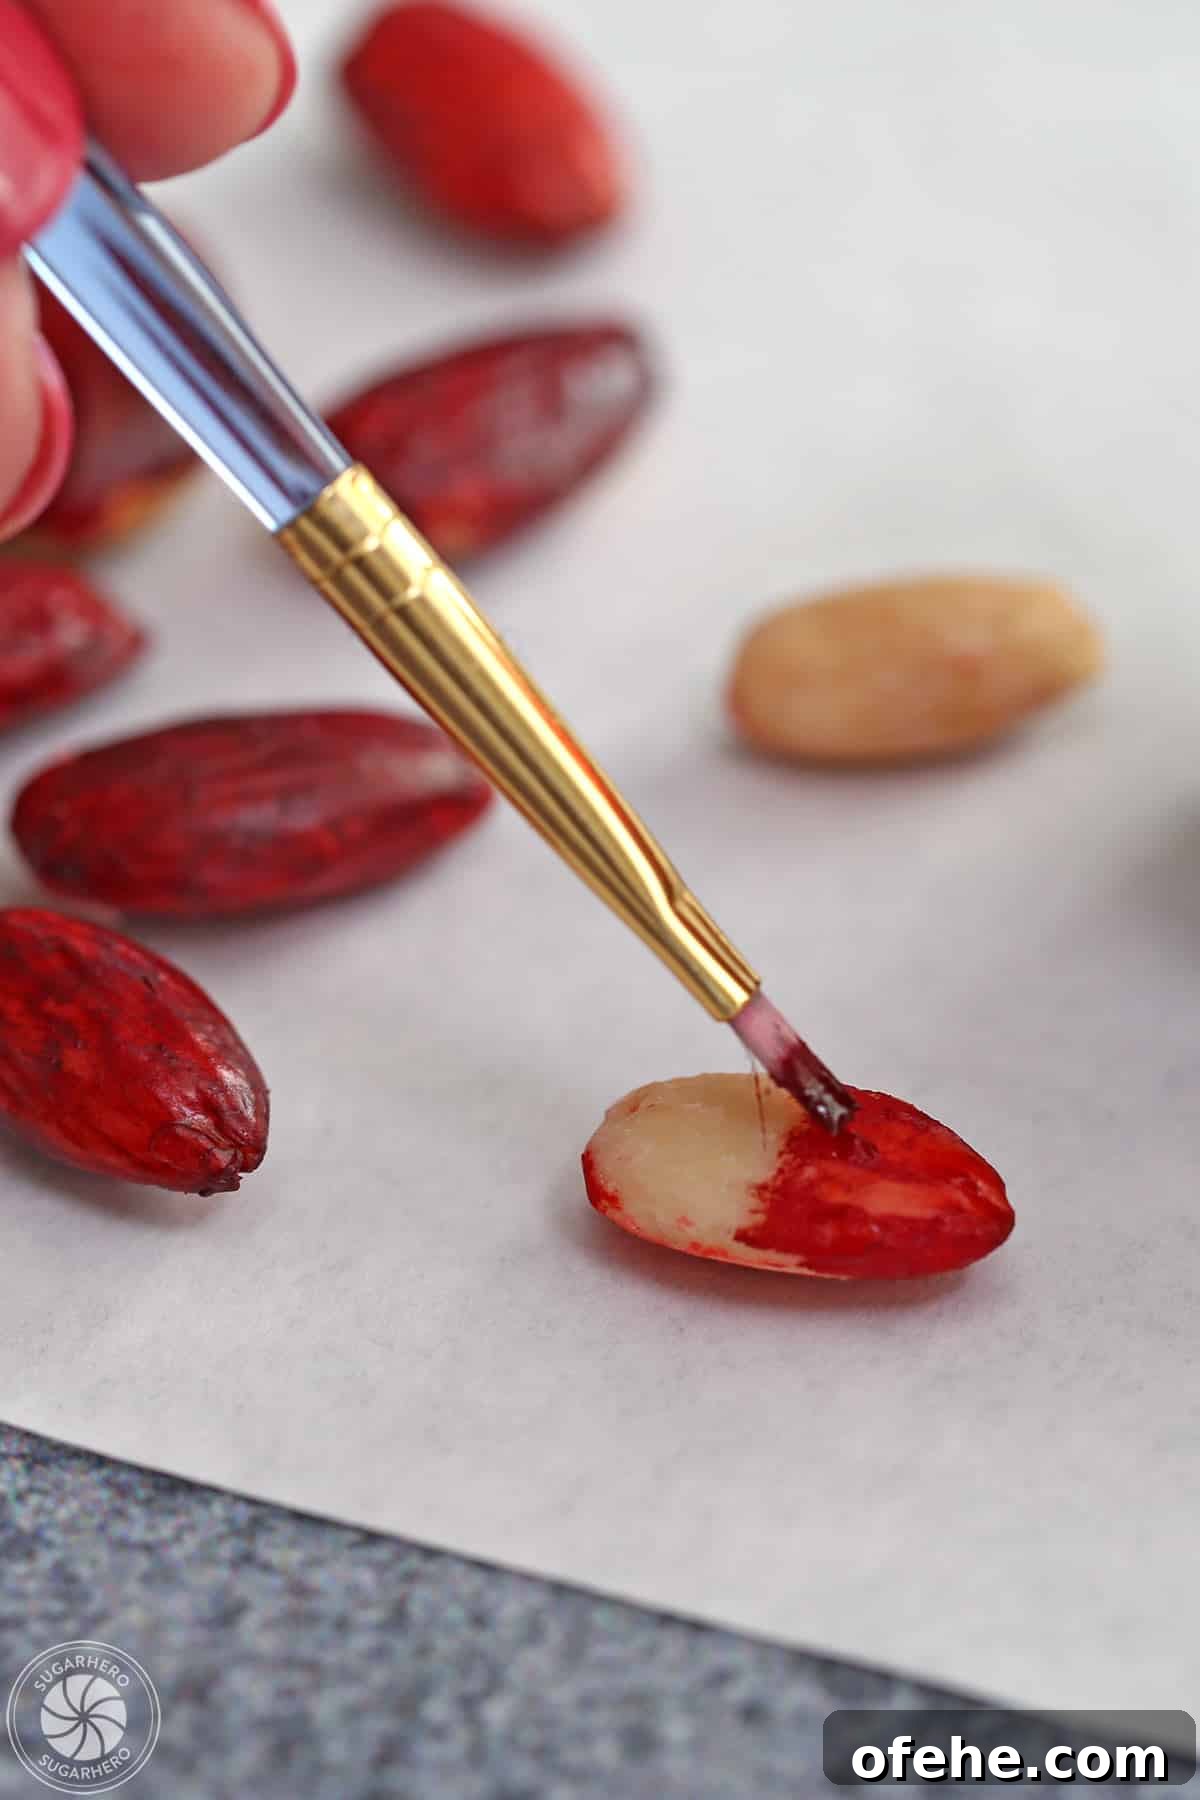
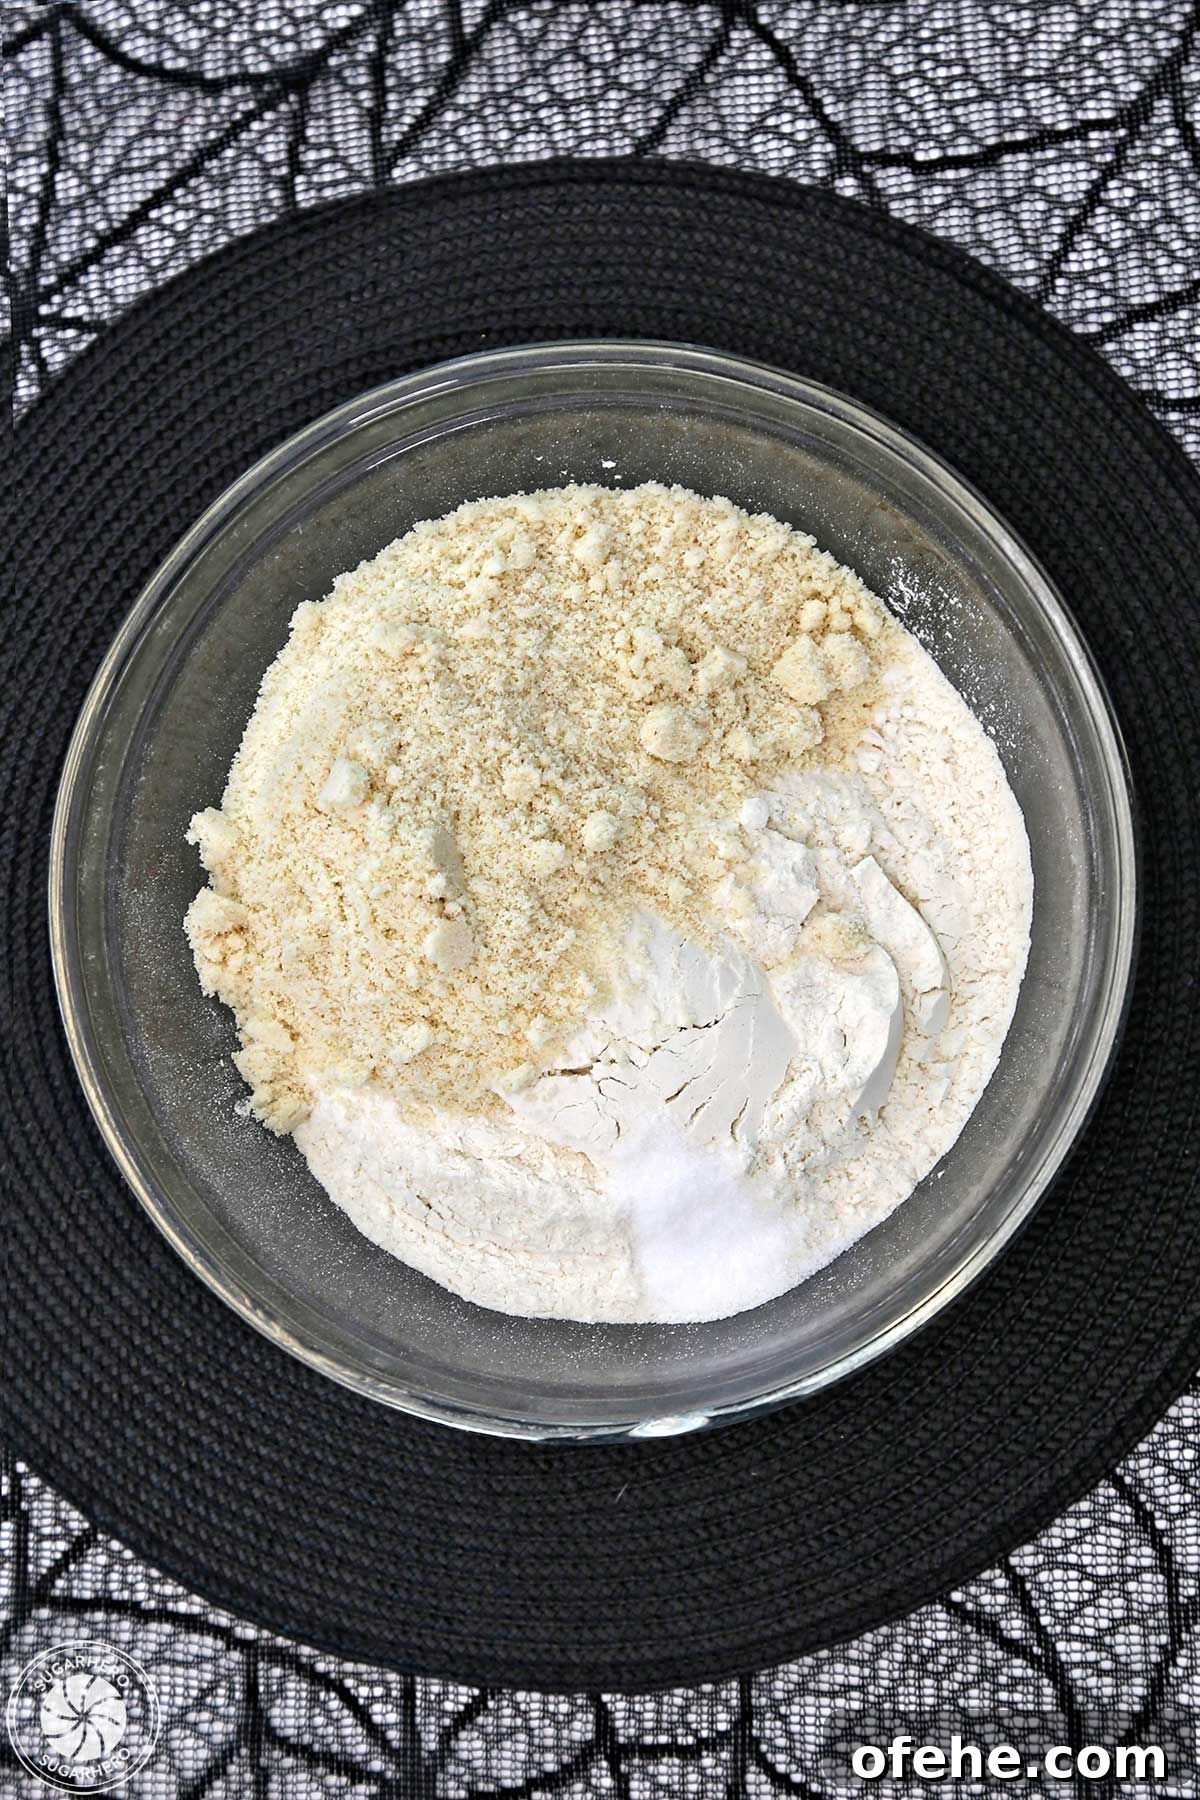
- Paint the almond tips with red gel food coloring and let them air dry.
- Whisk together the all-purpose flour and almond flour and set aside.
Step 3: Cream the Butter and Sugar
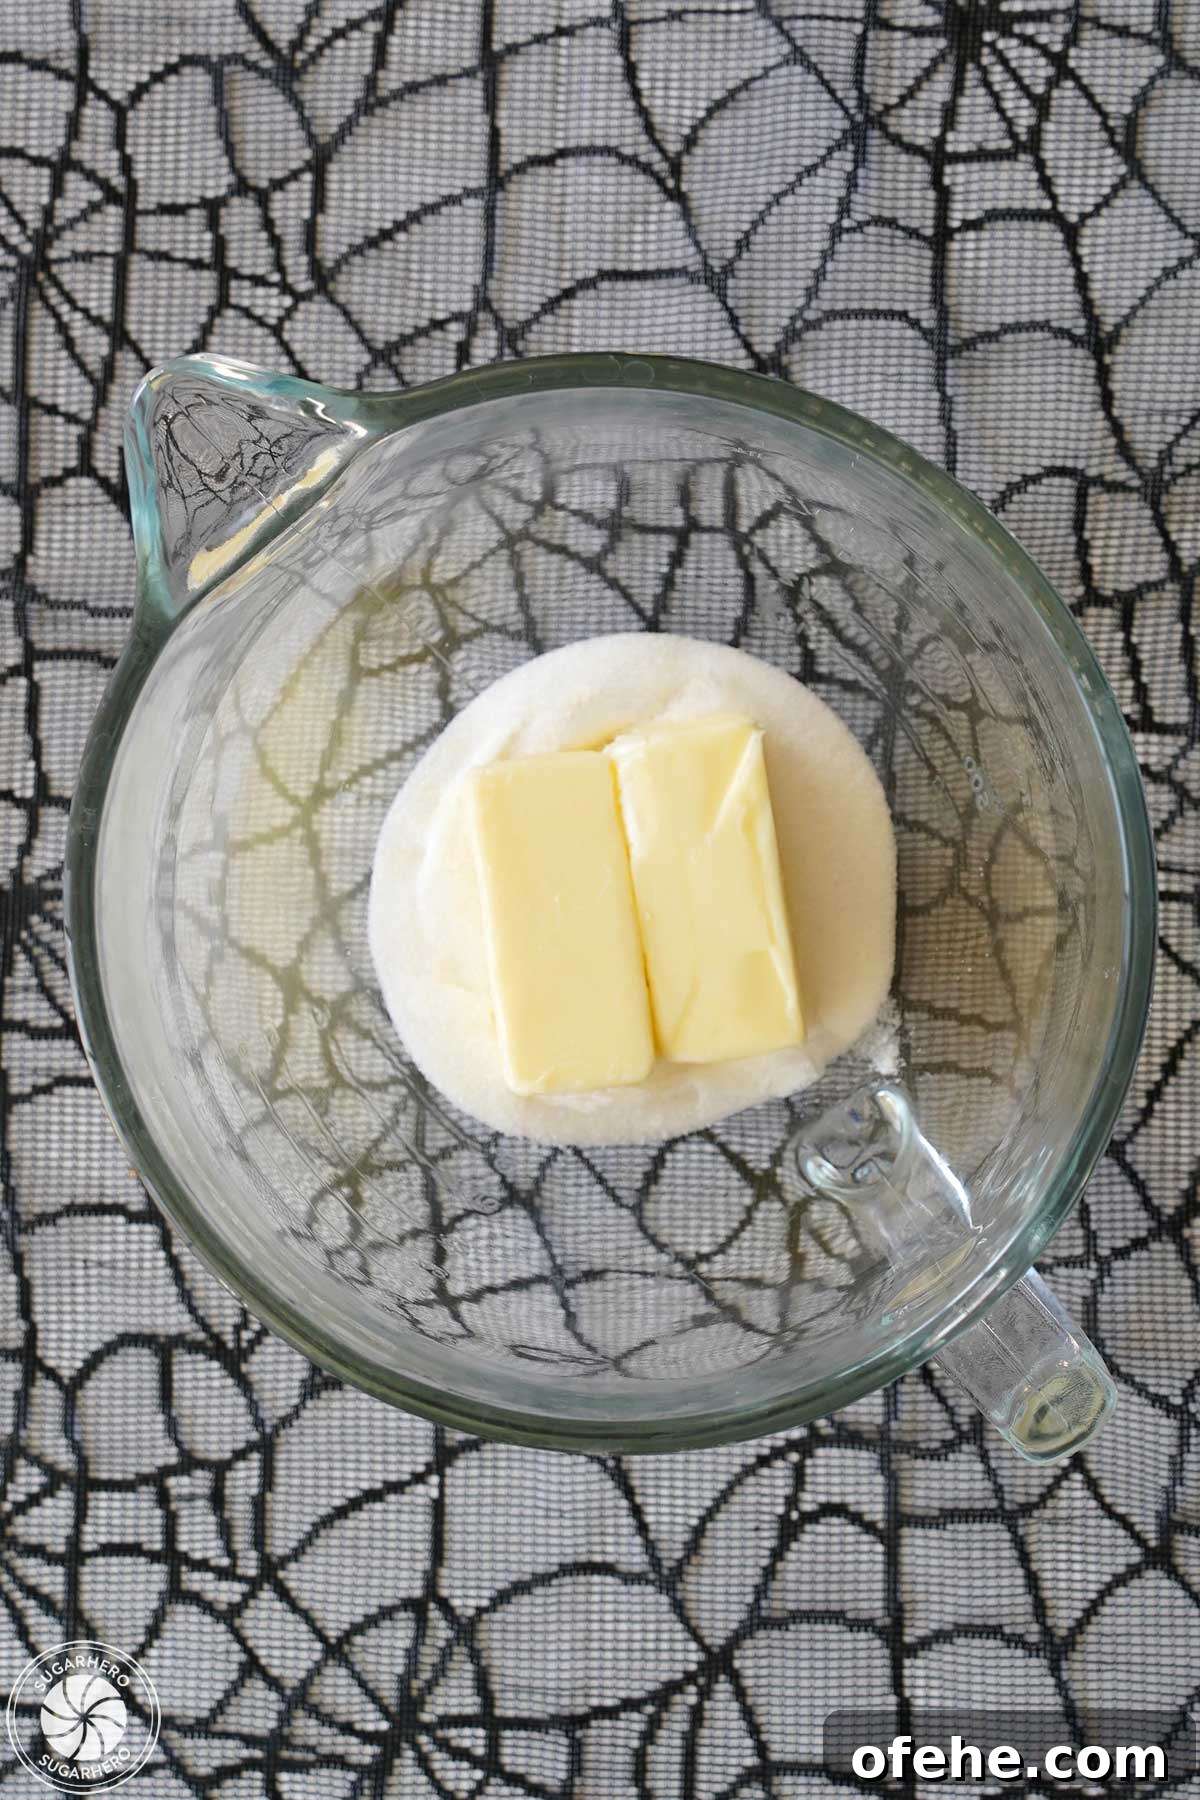
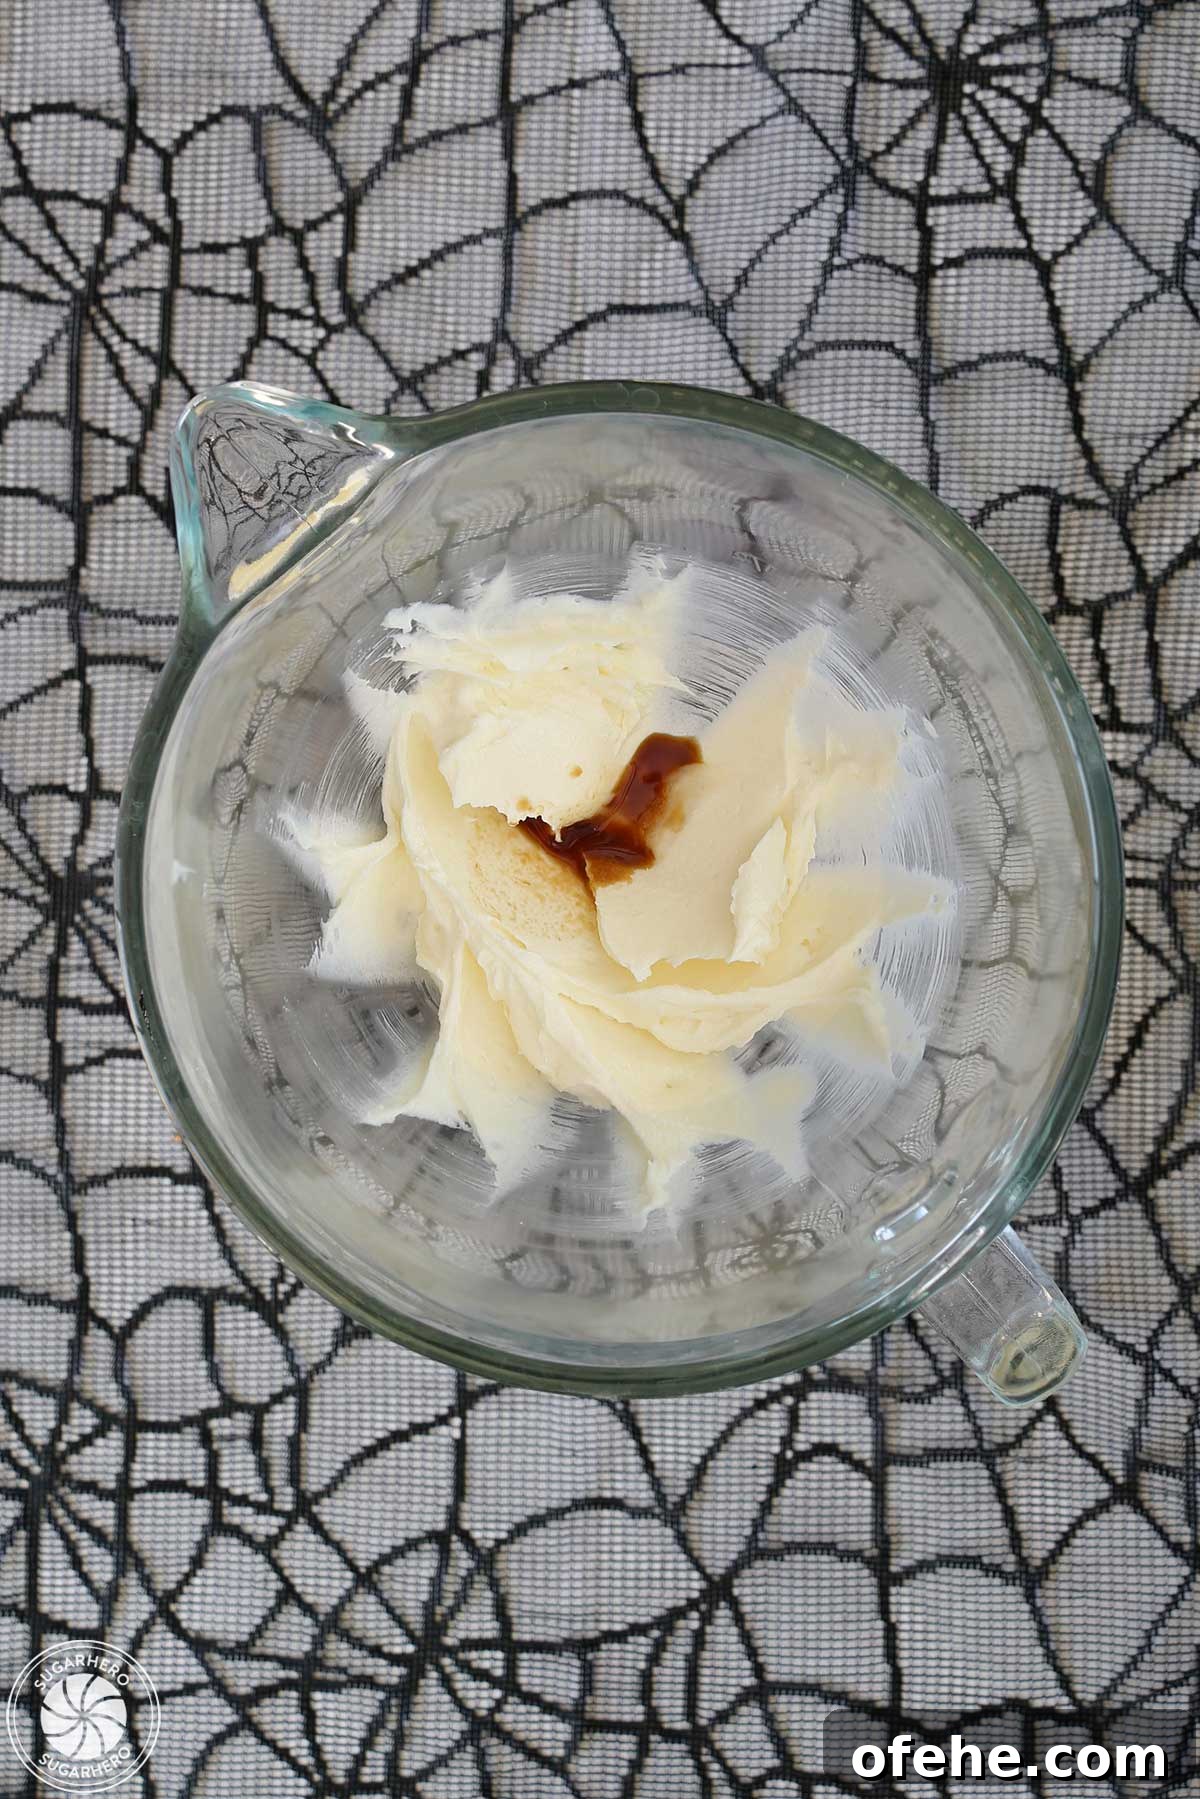
- Cream butter and sugar until light and fluffy, then add salt, almond and vanilla extracts.
Step 4: Finish the Cookie Dough
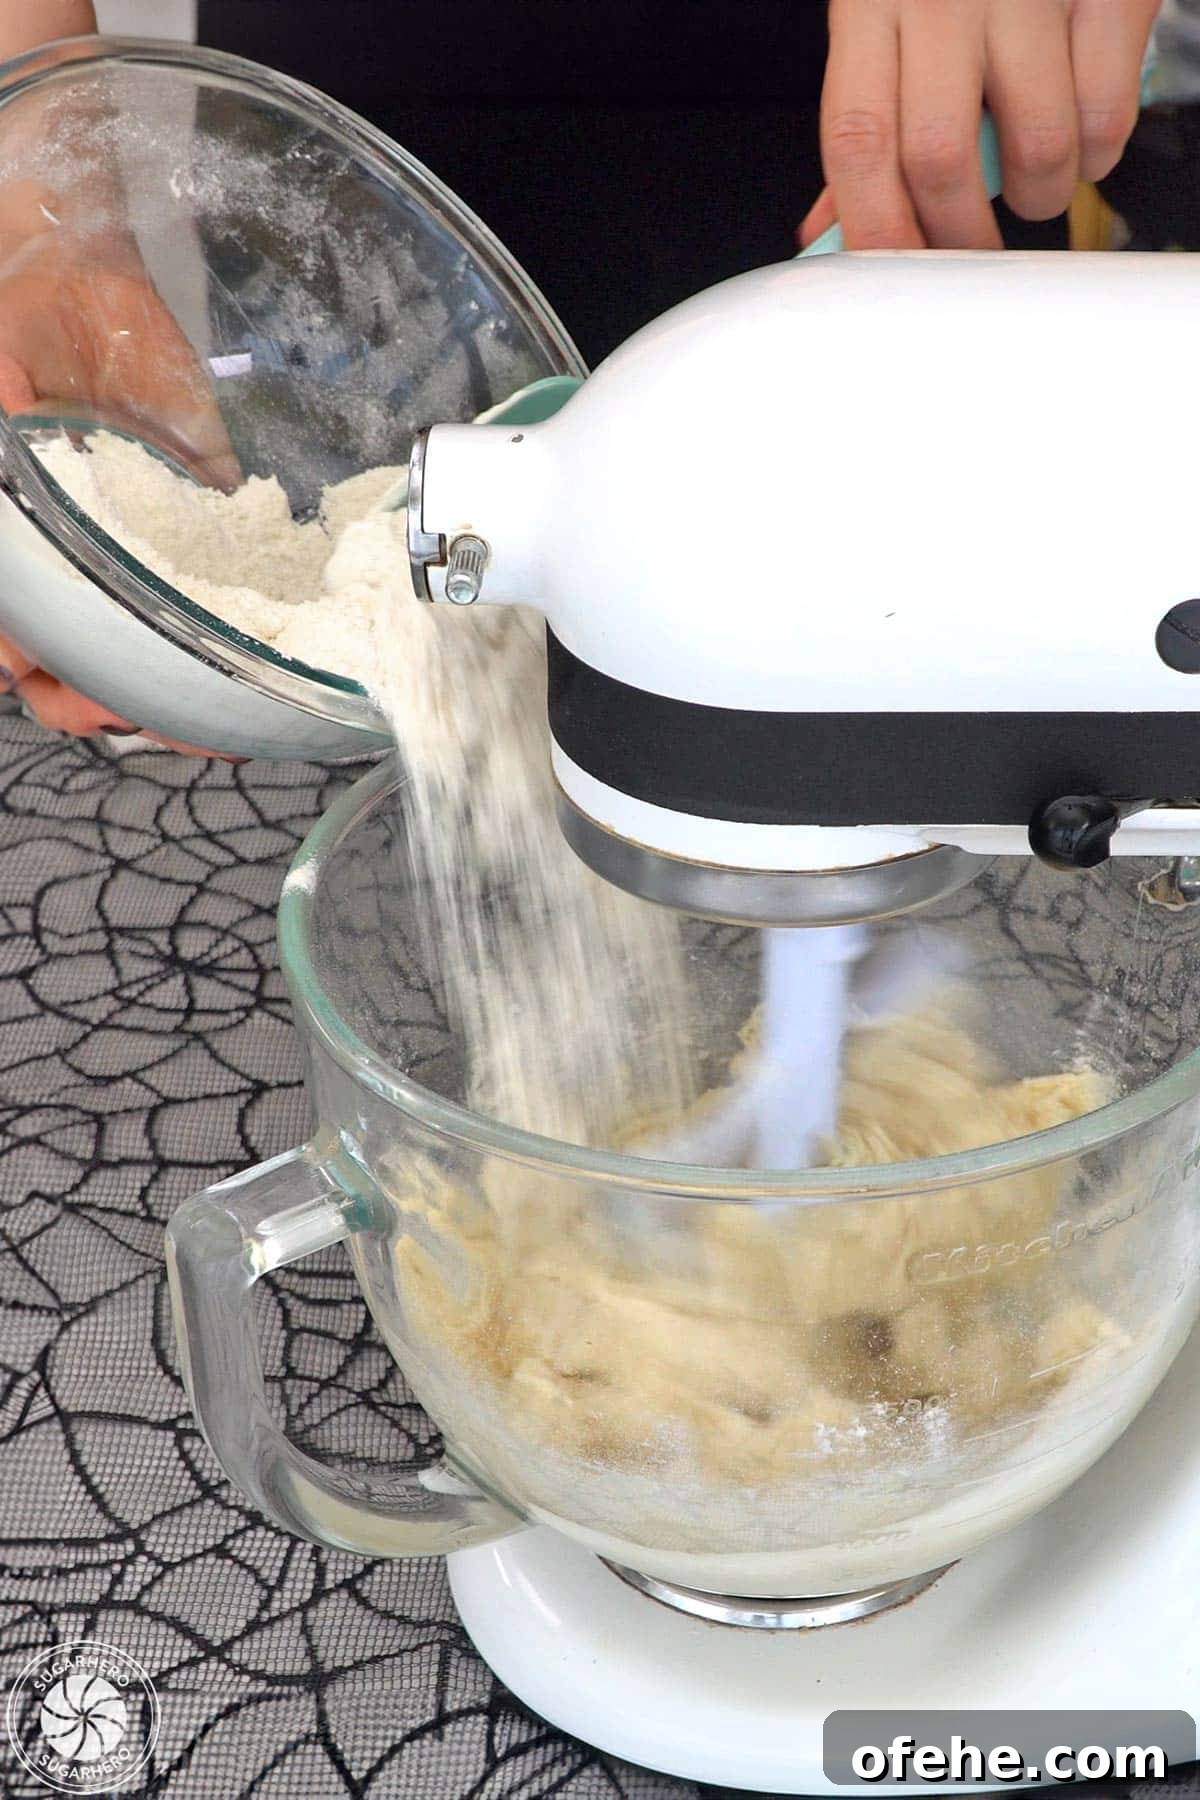
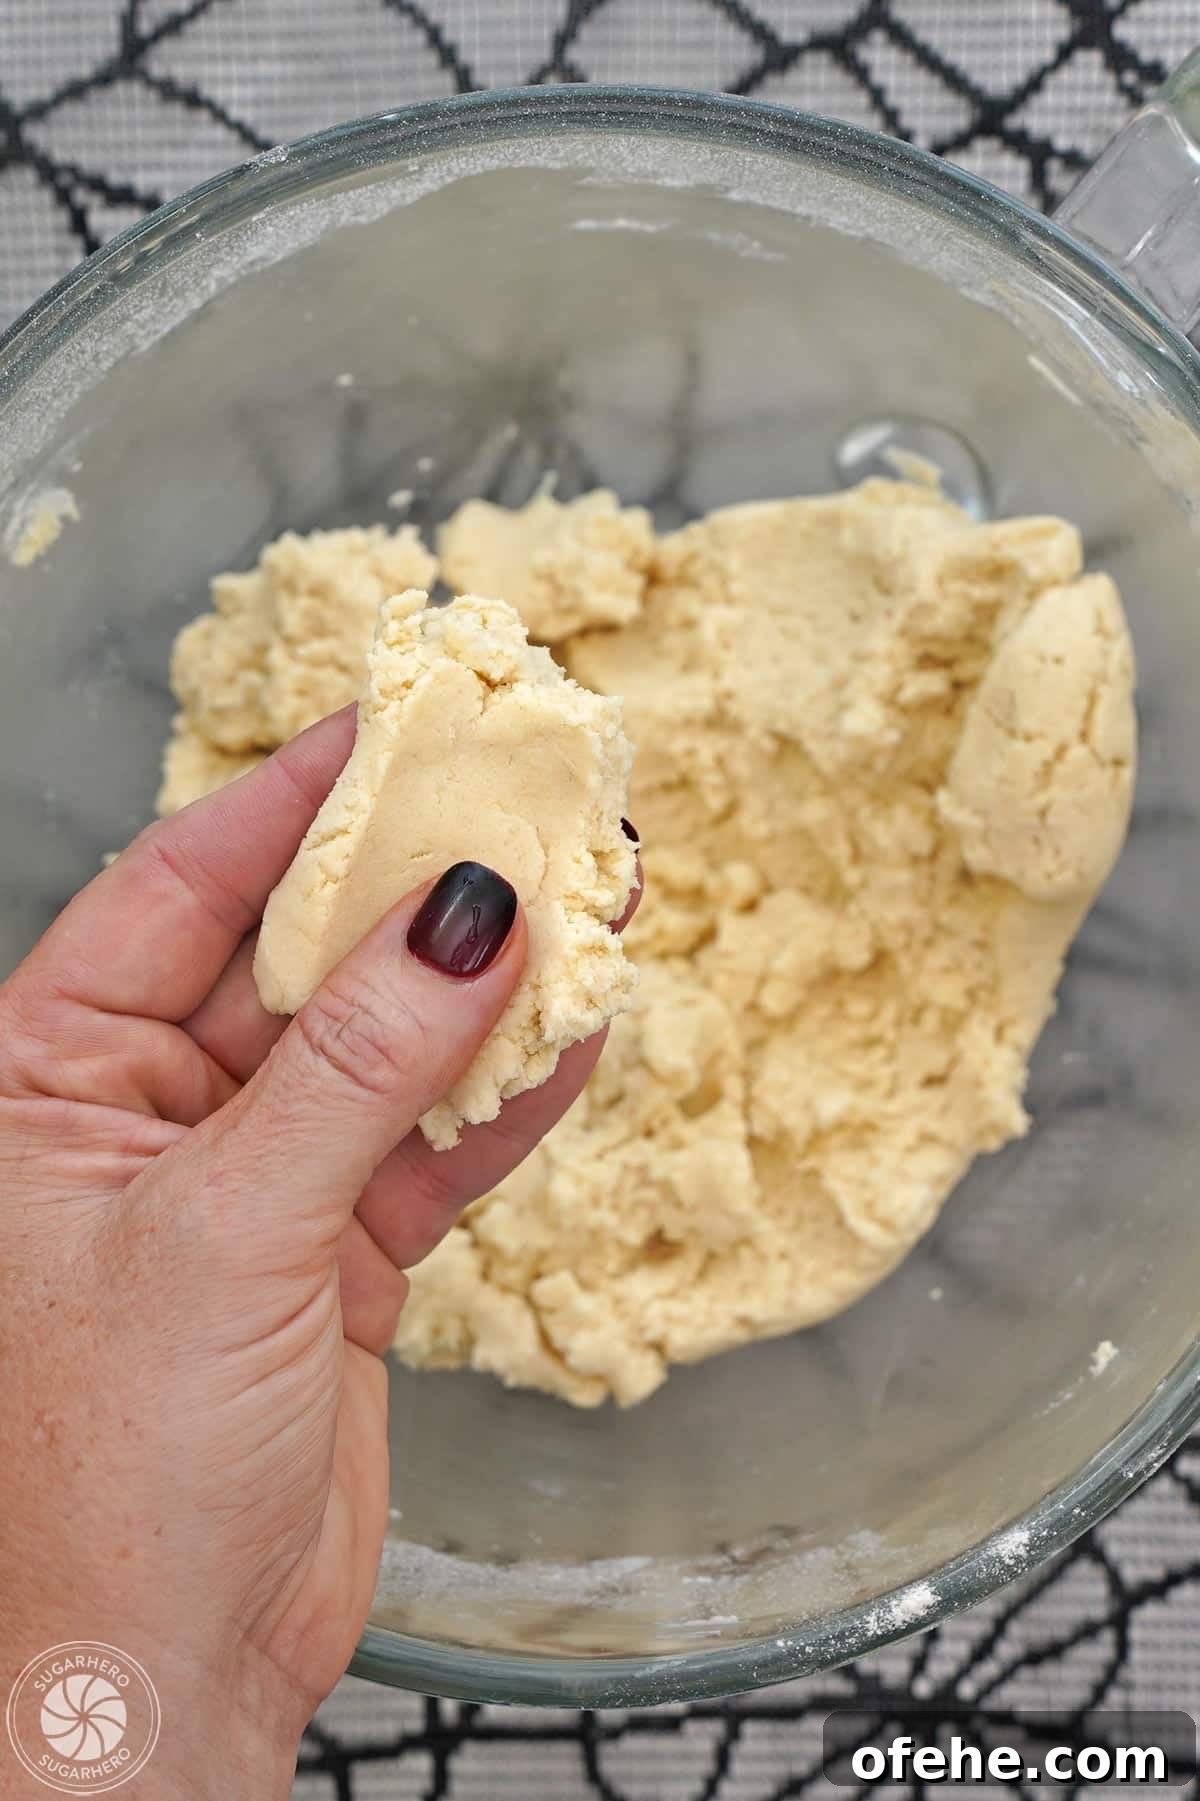
- Add the flour mixture on low speed until just combined, then finish folding by hand. Dough should be soft but not sticky.
Step 5: Shape the Cookies and Bake
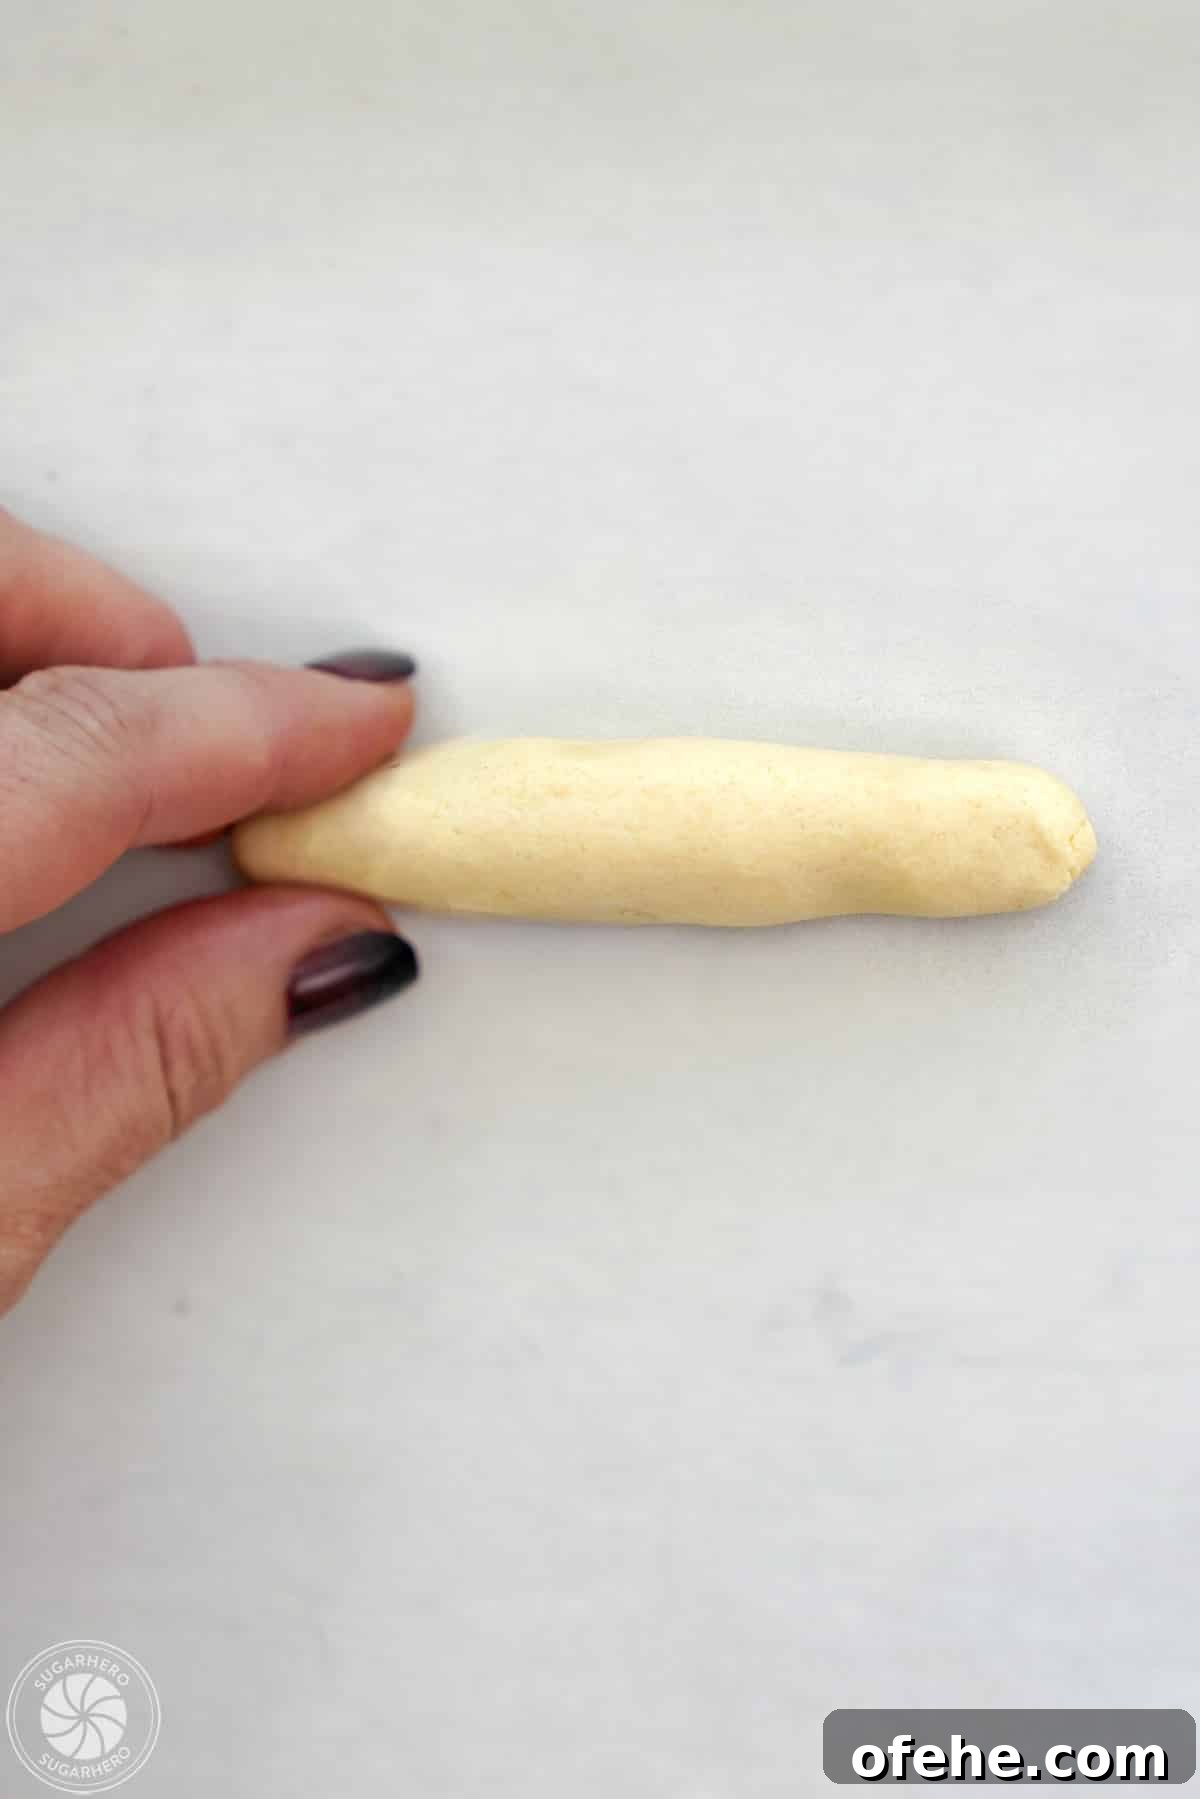
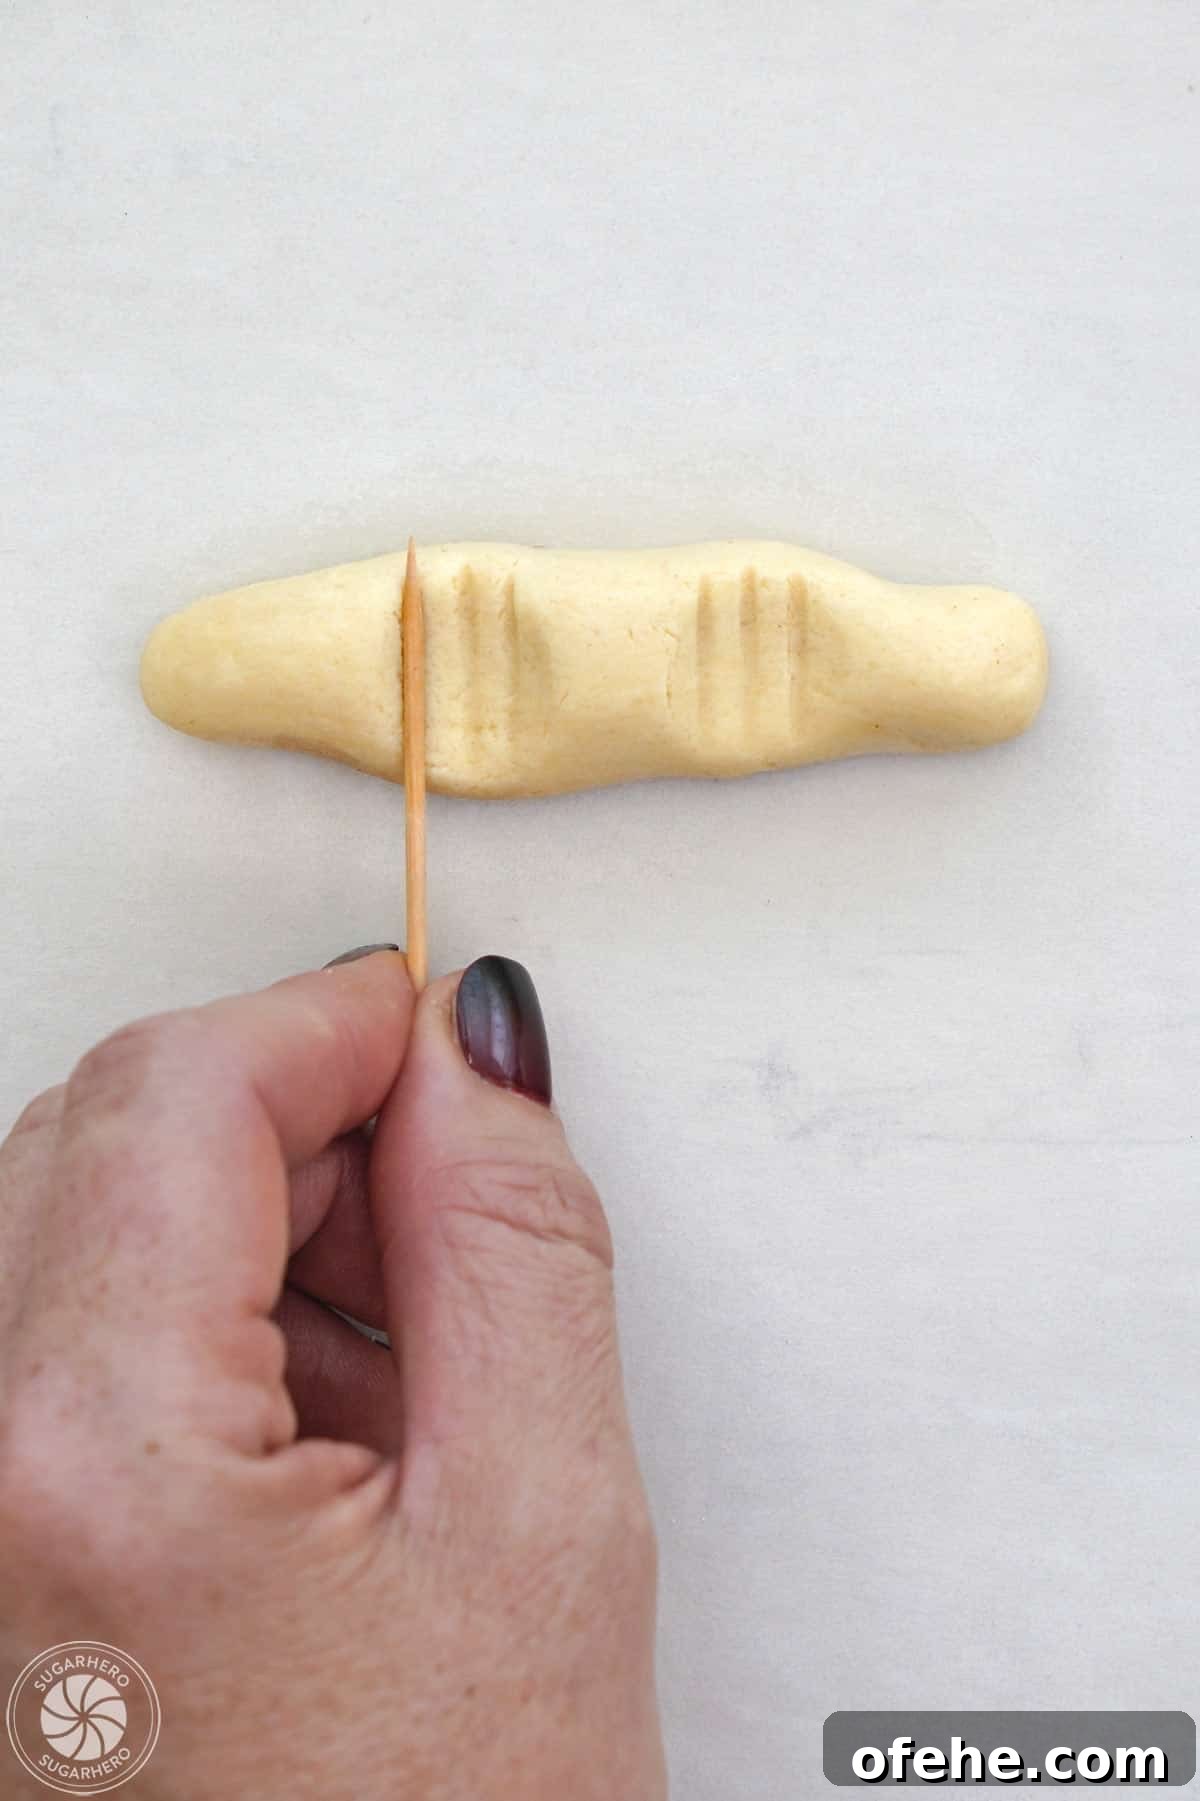
- Roll walnut-sized pieces into 4-inch fingers, press knuckles, add toothpick lines, and press a painted almond as the nail.
- Freeze the trays 10 minutes, then bake about 9 minutes at 350°F, rotating halfway through. Cool on the baking sheet.

💡 Tips and FAQs
Almond flour is finely ground from blanched almonds and has a light texture ideal for delicate cookies. Almond meal is coarser and made from almonds with skins on; it yields a denser, crumblier result and is less ideal for this recipe.
Avoid over-creaming the butter and sugar, and chill shaped fingers on the tray for 10 minutes before baking to help them retain their shape.
The dough can be made and refrigerated for a few days or frozen for up to 3 months. Allow refrigerated dough to soften for 20–30 minutes before shaping. Baked cookies keep in an airtight container at room temperature for up to a week or in the freezer for up to six months.
💭 Decorating & Flavoring Ideas
- Skip blanching and painting by using regular whole almonds as nails.
- Add a dab of red jam under the almond to create a bloody effect.
- Color the dough green, purple, or orange for a more dramatic look.
- Substitute slivered almonds or other nuts if you prefer.
- Try different extracts—lemon, orange, or coconut—for new flavor variations.
- Dip the finger tips in jam or melted candy coating before serving for extra gore.
Browse More: