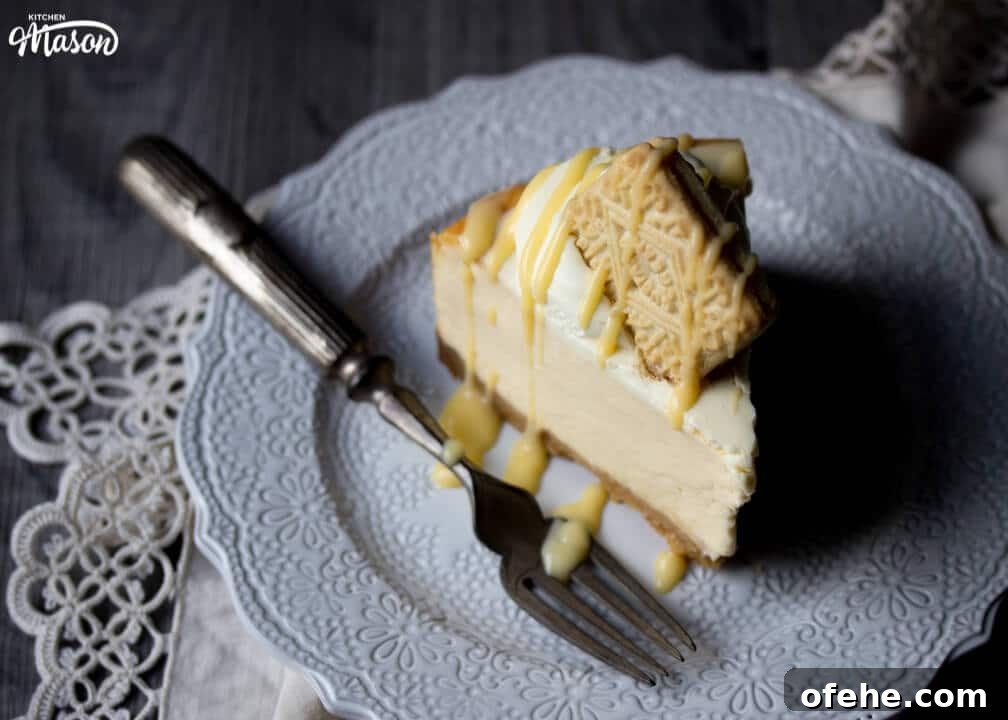
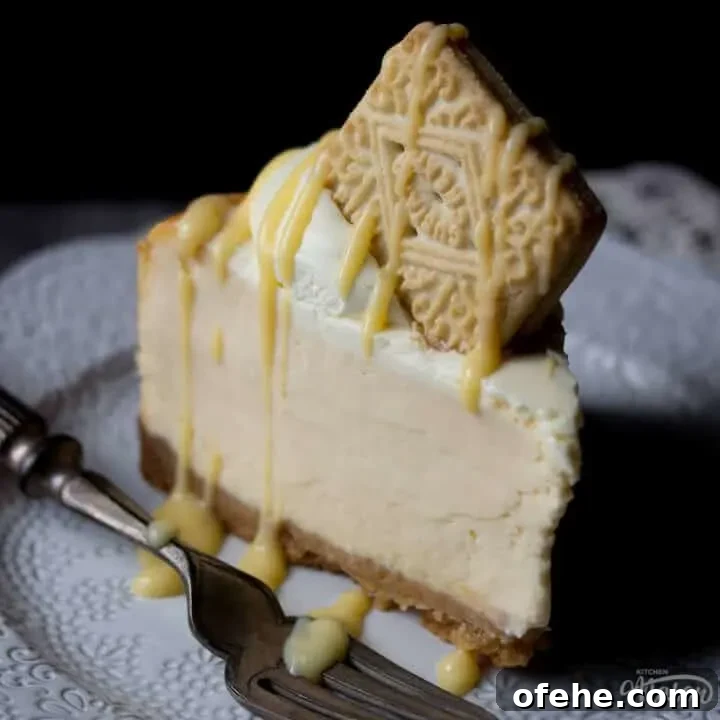
When you have time to bake, a baked cheesecake is one of the most impressive desserts you can make. This custard cream baked cheesecake is rich, custardy and finished with fresh whipped cream, whole custard cream biscuits and a drizzle of fresh custard for extra indulgence.
This recipe produces an elegant, silky baked cheesecake that feels extravagant but is straightforward to make. Follow the clear step-by-step instructions and the tips below to achieve a smooth, crack-free finish and a crisp base every time.
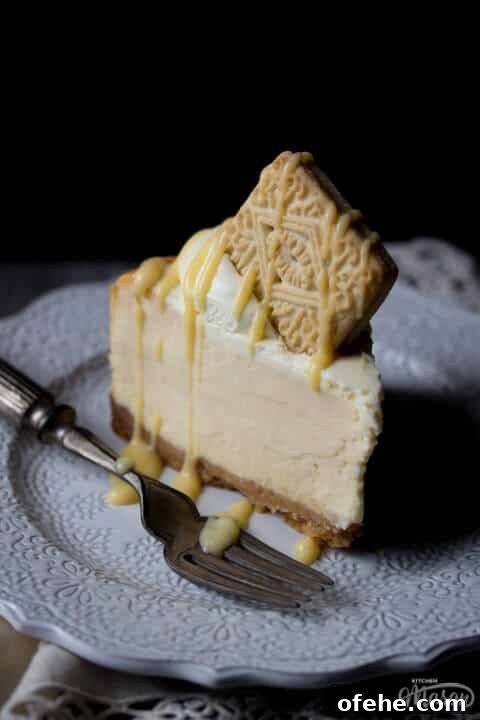
Friends who tried this cake described it as “sublime,” “luxurious” and “luscious.” One person even called it “The Happy Cake.” If you love custard as much as I do, this cheesecake will bring a lot of joy to the table.
People sometimes prefer no-bake cheesecakes because they are quick and light. A baked cheesecake takes a little more time but rewards you with deeper flavour and a creamier, denser texture. This custard cream version is lighter than many baked cheesecakes and worth the extra effort.
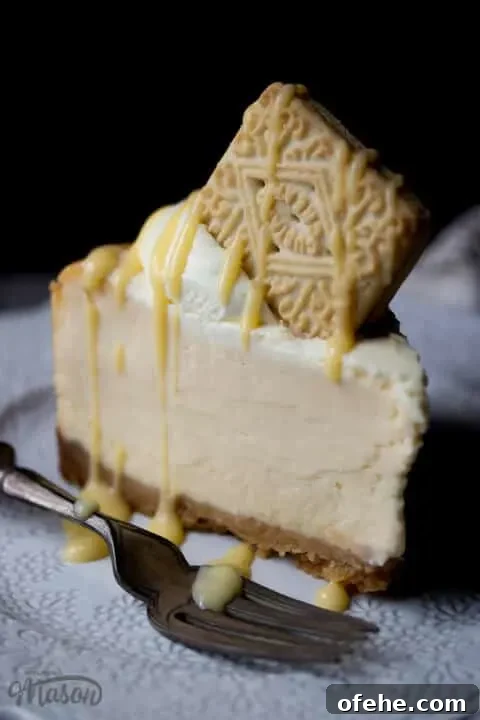
Custard Cream Baked Cheesecake Recipe Tips
- Bring cold ingredients to room temperature before using. This is especially important for cream cheese so it blends to a smooth, lump-free texture.
- To avoid cracks, when the bake time ends switch the oven off, open the door slightly and let the cheesecake cool in the oven for 10 minutes. Remove it and run a knife around the edge to prevent cracking.
- Pre-bake the base briefly so it firms up and won’t become soggy when you add the filling—about 8–10 minutes at 190°C/180°C fan until lightly golden.
- If you plan to top the cheesecake with biscuits, add them just before serving so they stay crisp; they soften when exposed to moisture.
- Always use a springform pan for baked cheesecakes. Lightly grease the base and sides and line the bottom with baking paper for easy removal.
If you’d like more basic baking guidance, search for baking-for-beginners resources to build foundational skills and improve your results.
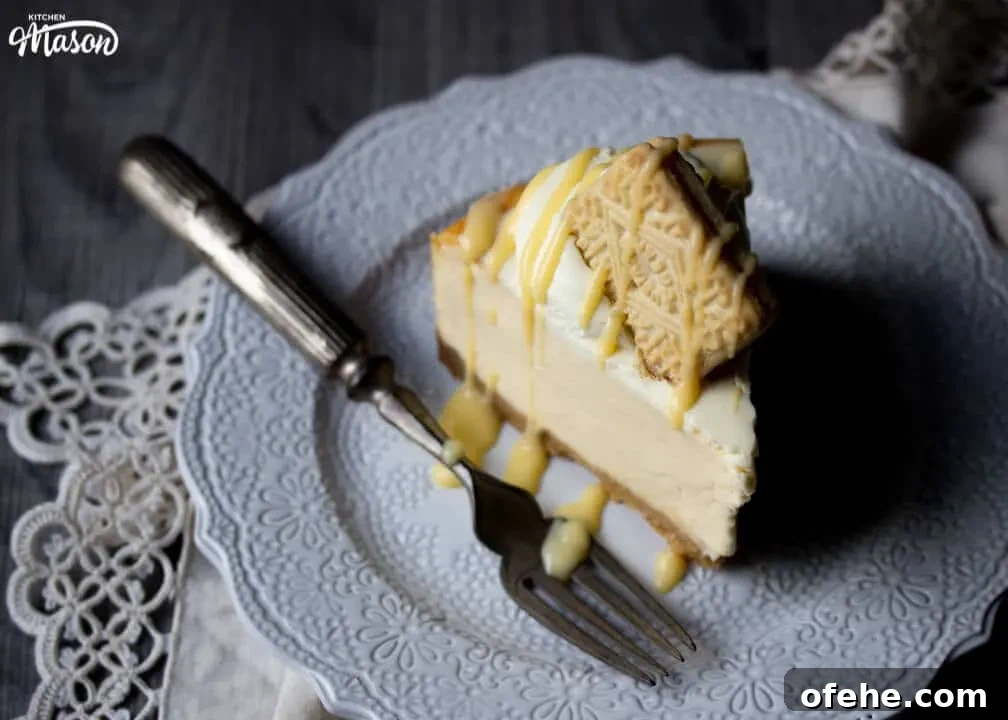
Easy Custard Cream Baked Cheesecake – Step by Step
(This recipe includes both UK metric and US cup measurements.)
Ingredients
Serves 10–12.
Biscuit base
- 200g (7 oz) custard cream biscuits
- 60g (1/4 cup) unsalted butter
Filling
- 750g (3 1/3 cups) full-fat cream cheese*
- 225g (1 1/8 cup) golden caster sugar
- 4 tbsp custard powder
- 3 eggs
- 300ml (1 1/4 cups) double cream
Topping (optional)
- 150ml (1/2 cup + 1 tbsp) soured cream
- Splash of vanilla extract
- 1 tbsp golden caster sugar
Decoration
- 100ml (1/3 cup + 1 tbsp) double cream, cold
- 8 custard cream biscuits
- 100ml (1/3 cup + 1 tbsp) fresh custard, to drizzle
*I use Philadelphia full-fat cream cheese.
Essential equipment
- Food processor
- Electric stand mixer or large bowl with an electric hand whisk
- 21.5cm (8.5″) springform pan
Base instructions
Preheat oven to 190°C / Fan 180°C / 374°F. Lightly grease the base and sides of the tin and line the bottom with baking paper.
Place the custard creams in a food processor and pulse until they become fine crumbs. Melt the butter in short bursts in the microwave, pour over the crumbs and pulse again until the mixture begins to clump.
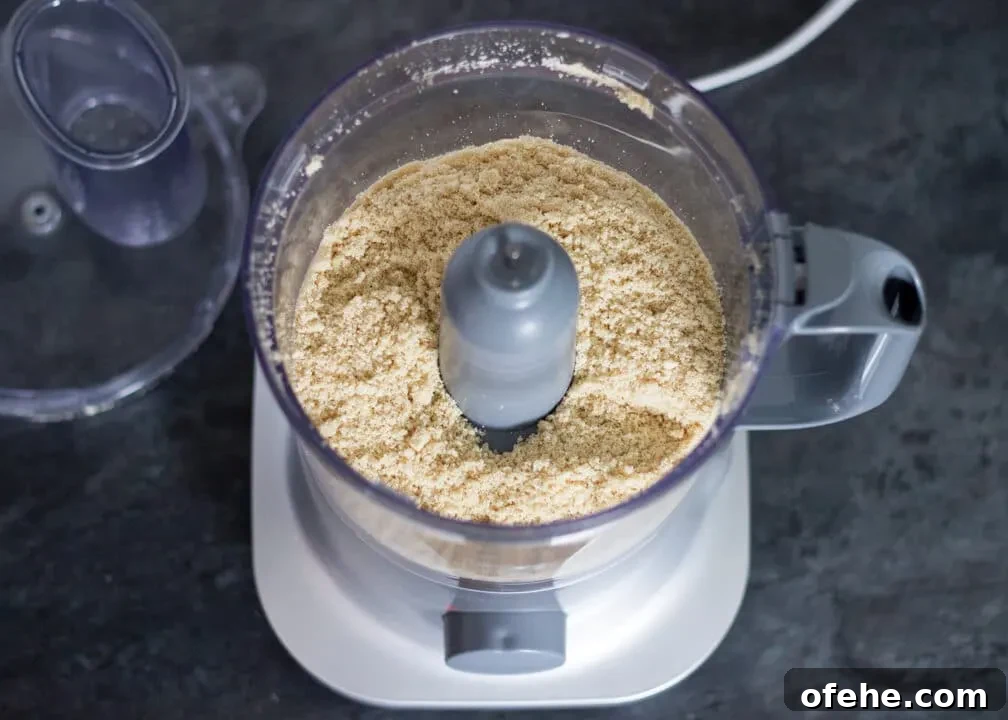
Press the crumb mixture firmly into the base of the prepared tin so it’s even. Bake for 8–10 minutes until golden, then set aside to cool while you make the filling.
Filling instructions
In a stand mixer or large bowl, beat the cream cheese on medium speed until very soft and smooth (about 2–3 minutes). Add the sugar and custard powder and beat on medium for another 3–4 minutes until glossy and smooth.
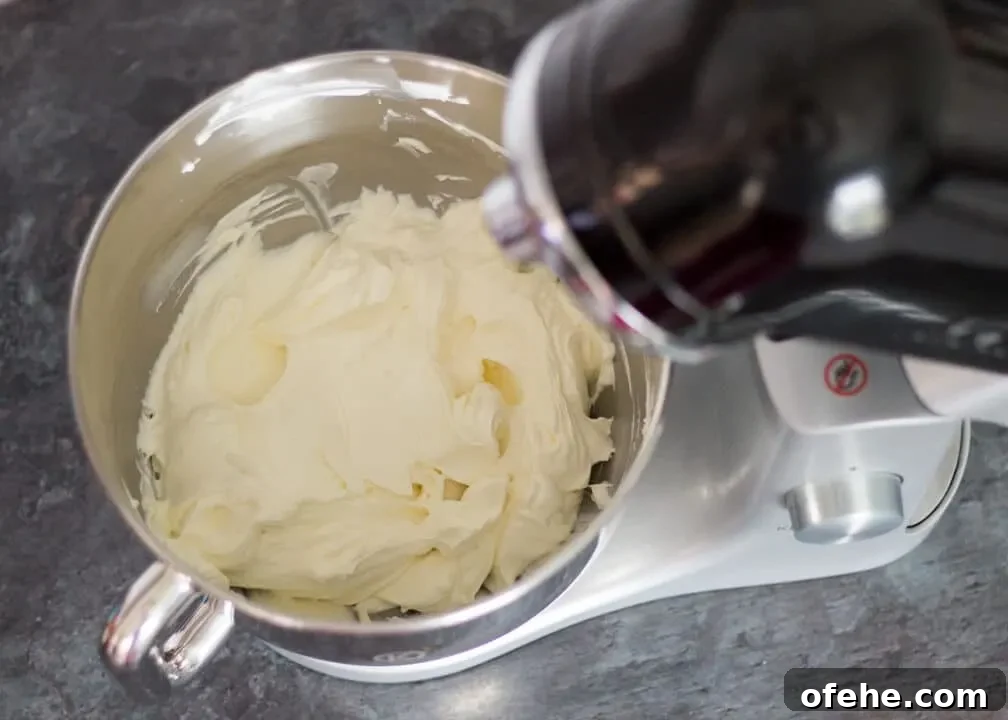
Crack in the eggs one at a time, mixing on low–medium speed and stopping as soon as each is incorporated. Finally, pour in the double cream and mix gently until just combined. Over-mixing can incorporate too much air and increase the risk of cracks.
Pour the filling over the cooled base and smooth the top lightly. Bake on the bottom shelf at 190°C/180°C fan for 10 minutes, then reduce the oven temperature to 150°C / Fan 140°C / 302°F and bake for a further 30–35 minutes. The edges should look set while the centre remains slightly wobbly.
Top tip: When the bake time is finished, switch off the oven, open the door and leave the cheesecake inside on the shelf for 10 minutes. Remove it and carefully run a knife around the edge to avoid cracks, then allow it to cool at room temperature for 20–30 minutes.
Optional topping
If not adding a topping, cool completely at room temperature before chilling in the fridge in the tin for at least 4 hours or overnight.
To add the sour cream topping: after the initial 20–30 minute rest, preheat the oven to 150°C / Fan 140°C. Mix the soured cream with vanilla and sugar, spread it over the cheesecake and return to the oven for 10 minutes. Repeat the same cooling routine—leave in the turned-off oven with the door ajar for 10 minutes—then cool fully before chilling in the fridge for 4 hours or overnight.
Decorating
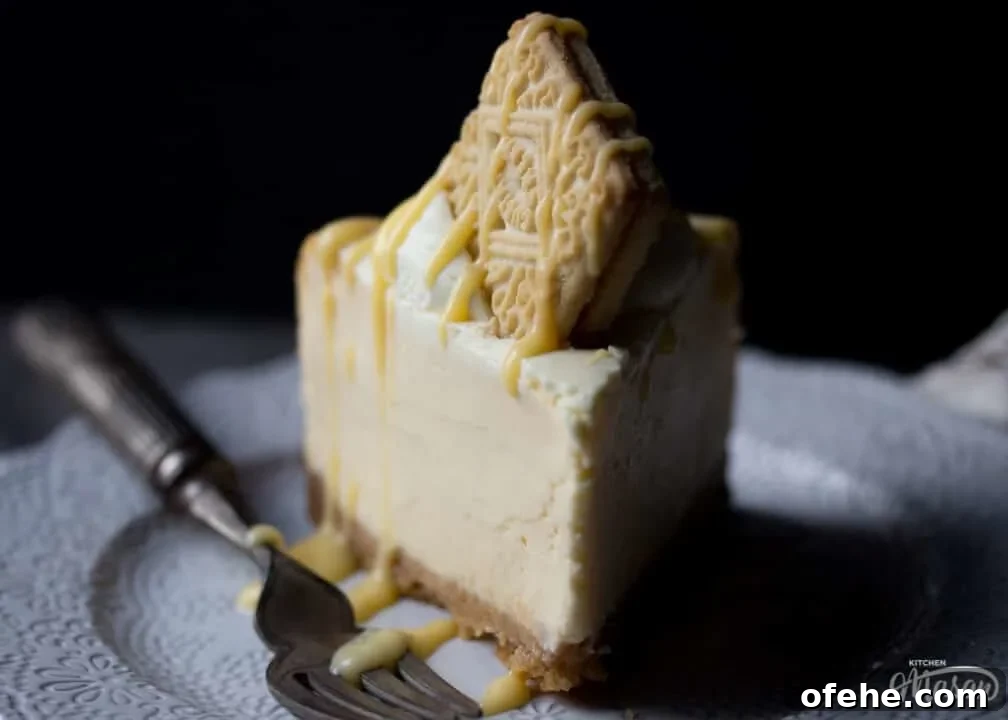
Whip the cold double cream to soft peaks (stop when it just holds its shape). For best results, chill the bowl and whisk beforehand and use big sweeping motions to incorporate air. Dollop spoonfuls of whipped cream around the edge—avoid piping if possible as forcing cream through a nozzle can over-whip it. Top with whole custard cream biscuits and, if you like, drizzle fresh custard over each slice just before serving.
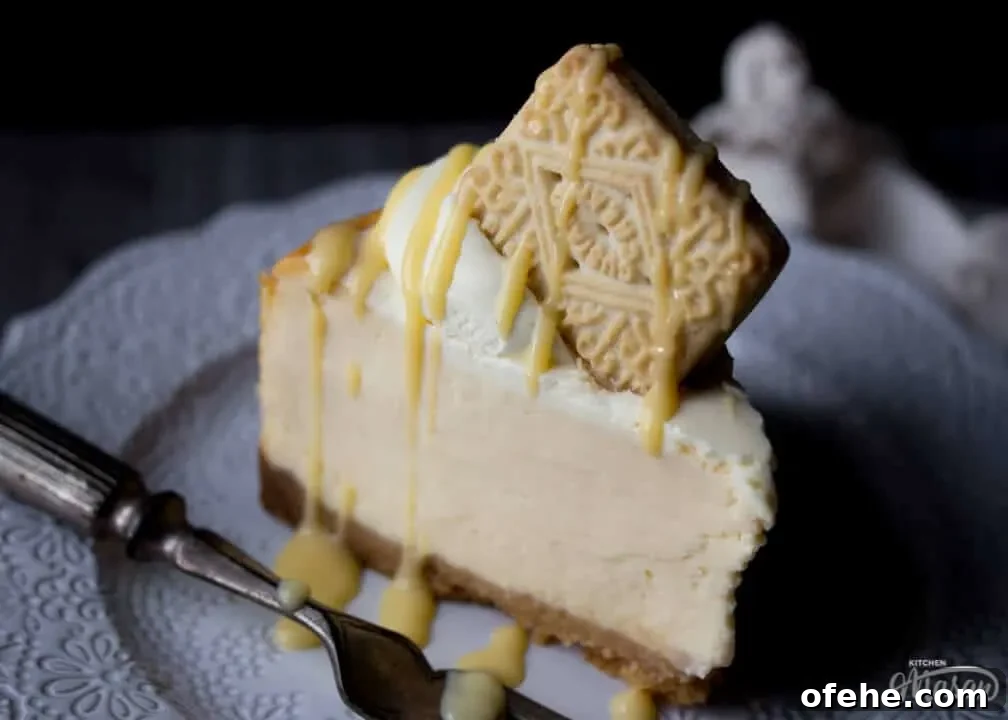
Store leftovers covered in the refrigerator and consume within 3–4 days.
Recipe Card
Custard Cream Baked Cheesecake Recipe
Creamy, custardy and indulgent—this baked cheesecake makes a memorable dessert for special occasions or weekend baking.
Ingredients
For the Base
- 200g (7 oz) Custard Cream Biscuits
- 60g (1/4 Cup) Unsalted Butter
For the Filling
- 750g (3 + 1/3 Cups) Full Fat Cream Cheese
- 225g (1 + 1/8 Cup) Golden Caster Sugar
- 4 tbsp Custard Powder
- 3 Eggs
- 300ml (1 + 1/4 Cups) Double Cream
For the Topping
- 150ml (1/2 Cup + 1 tbsp) Soured Cream
- Splash of Vanilla Extract
- 1 tbsp Golden Caster Sugar
For Decoration
- 100ml Double Cream, Cold
- 8 Custard Cream Biscuits
- 100ml Fresh Custard, to drizzle
Essential Equipment
- Food Processor
- Electric Stand Mixer or Hand Whisk
- 21.5cm (8.5″) Springform Pan
Instructions
Base
- Preheat the oven to 190°C / Fan 180°C / 374°F. Grease and line a springform tin. Pulse the custard creams in a food processor into fine crumbs, add melted butter and pulse until the crumbs clump together.
- Press the crumbs evenly into the tin and bake for 8–10 minutes until golden. Set aside to cool.
Filling
- Beat the cream cheese for 2–3 minutes until very smooth. Add the sugar and custard powder and beat until glossy, about 3–4 minutes.
- Beat in the eggs one at a time on low speed until just combined, then pour in the double cream and mix gently until evenly combined.
- Pour the filling over the cooled base. Bake on the bottom shelf at 190°C / Fan 180°C for 10 minutes, then reduce the oven to 150°C / Fan 140°C and bake for 30–35 more minutes until the edges are set and the centre is slightly wobbly.
- Turn off the oven, open the door and leave the cheesecake inside for 10 minutes. Remove and run a knife around the edge to prevent cracking, then cool at room temperature for 20–30 minutes.
Topping (optional)
- Preheat the oven to 150°C / Fan 140°C. Mix soured cream, vanilla and sugar, spread over the cheesecake and bake for 10 minutes. Cool in the turned-off oven with the door ajar for 10 minutes, then cool completely before chilling in the fridge for at least 4 hours or overnight.
To Decorate
- Whip cold double cream to soft peaks, dollop around the edge, add whole custard cream biscuits and drizzle fresh custard over slices just before serving. Store any leftovers in the fridge and use within 3–4 days.
Notes
*I use full-fat Philadelphia cream cheese.
Storage
Keep refrigerated and consume within 3–4 days.
Additional tips
- Room-temperature ingredients blend more evenly and create a smoother filling.
- Pre-baking the base and using the oven-cool method reduces cracking and gives a neater finish.
- Add crunchy decorations close to serving to maintain texture.
Nutrition Information:
Yield: 12
Amount Per Serving (approx.):
Calories: 624
Total Fat: 47g
Carbohydrates: 45g
Protein: 8g
Nutritional information is intended as a general guide. Check product labels for allergens and exact values.
Did you make this recipe?
Share your experience in the comments or tag the author on social media.